Forum")

Post by cbburtraw on Aug 18, 2009 20:41:08 GMT -6
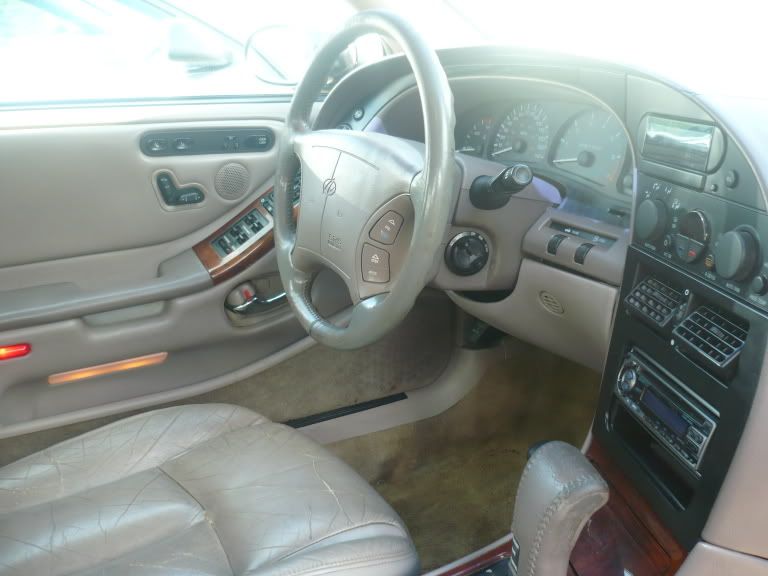
This is done for a Classic Aurora, 2nd Gens may have a different system.
Symptoms
"Clean Key - Wait 3 minutes" on DIC
Car will not start
Security light flashing on the dash
First try:
Cleaning the key
A different key
Cleaning the contacts in the ignition
Otherwise, your VATS/PassKey system has failed because the contacts in the ignition have worn out. This system works by reading the resistance of that "chip" in your key, which is not actually a chip but a mere resistor. The reading has to be within 5% of the set value for the computer to allow the starter to engauge. To properly fix this you need a new ignition cylinder, which is several hundred bucks installed. You may want to use an alternative route.
*You may also want to do this so you can use regular spare keys instead of the $40+ spares made at dealerships.
So, if all else fails, heres how to bypass the security system...
PART 1 - Making your bypass
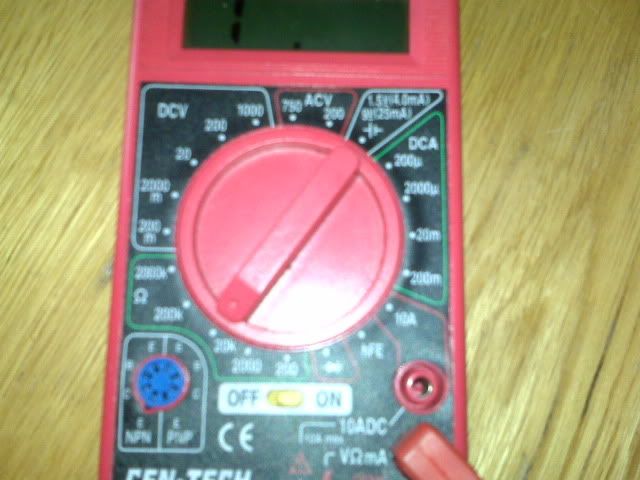
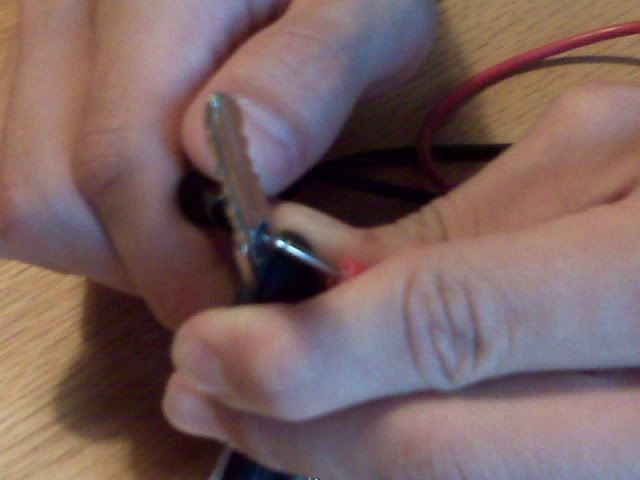
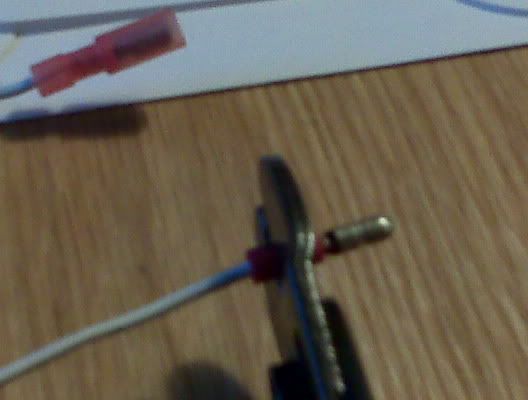
1. Use a multimeter, set on resistance setting, to measure the resistance of the "chip" in your key. There are 15 different values, so yours may be different from mine. Write it down.
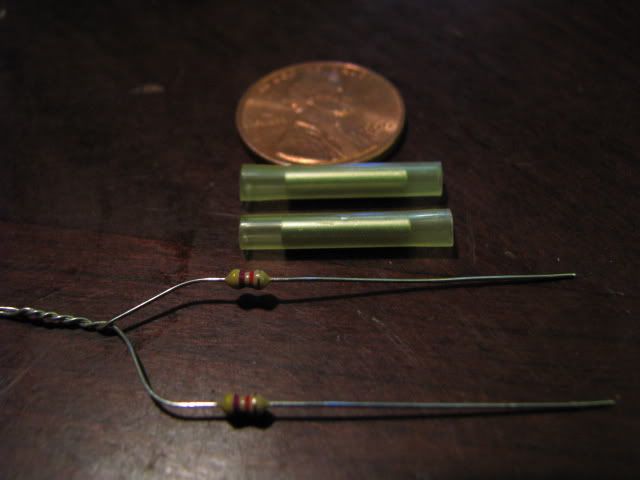
2. Visit your local electronics store and start buying resistors. You need to match up a set (if your lucky you will only need 1 or 2) that when put in series provides the same resistance to that of your key. This is the trickiest part, so ask the guys at the store to help you out or refer to a friend who is a wiz at this stuff. You may also shoot me a PM, I will try to help.
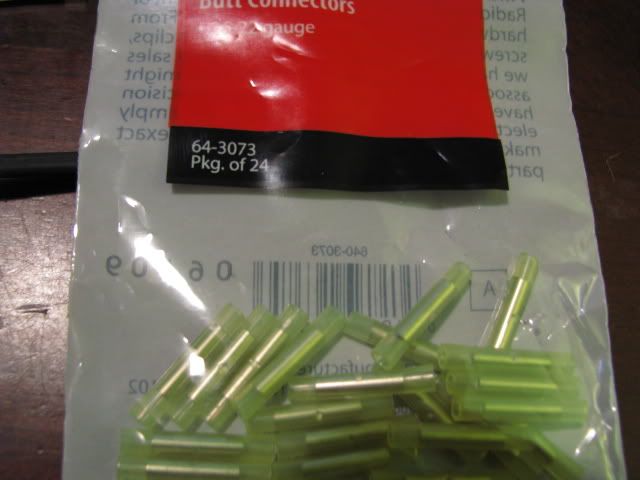
*While you are at the electronics store, grab some crimp-on bullet style connectors, get a set with both male and female connectors. You will use these later.
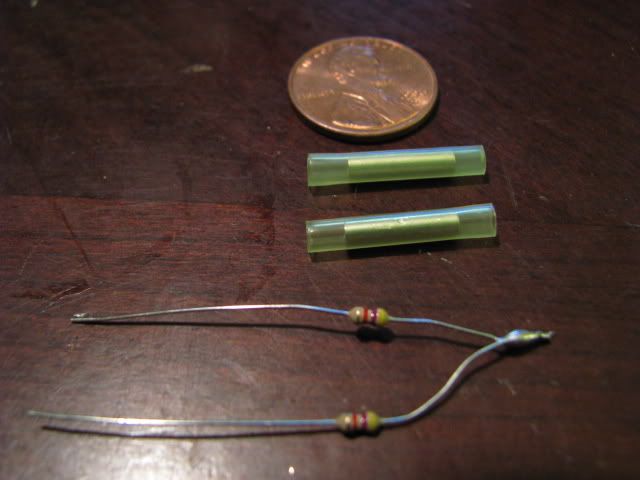
Solder these resistors together in series. You may want to trim the long ends down to make your set shorter and more managable.
*As an alternative, you may try popping out the resistor in your key and using this in place of the resistor set, it might be easier but I have never tried it.
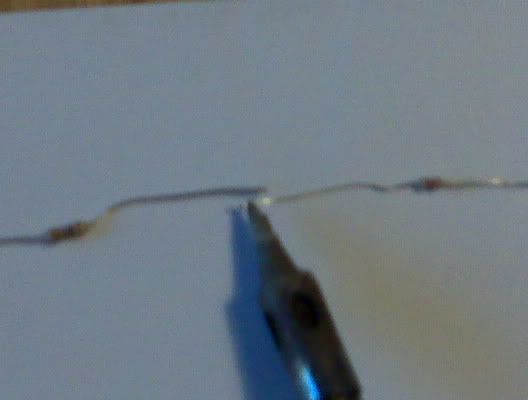
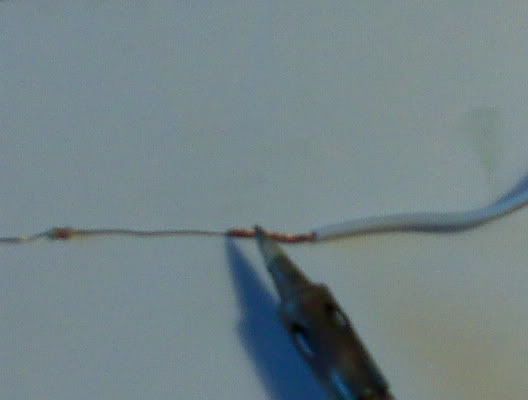
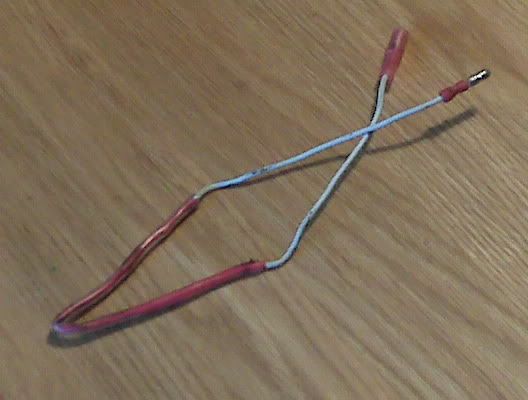
3. Solder a few inches of medium gauge wire (I used 18 gauge) to the end of your resistor set.
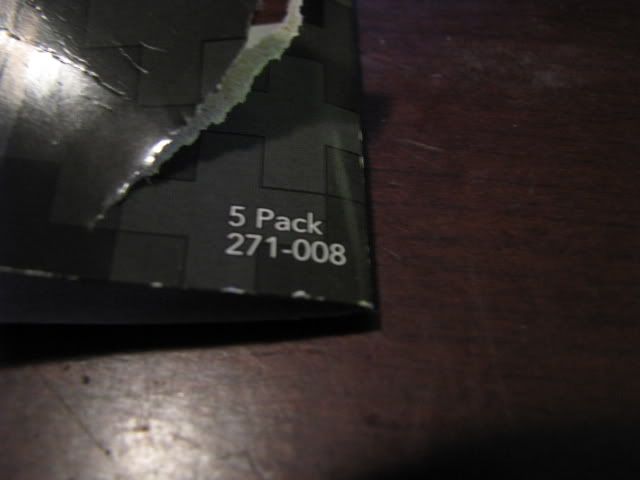
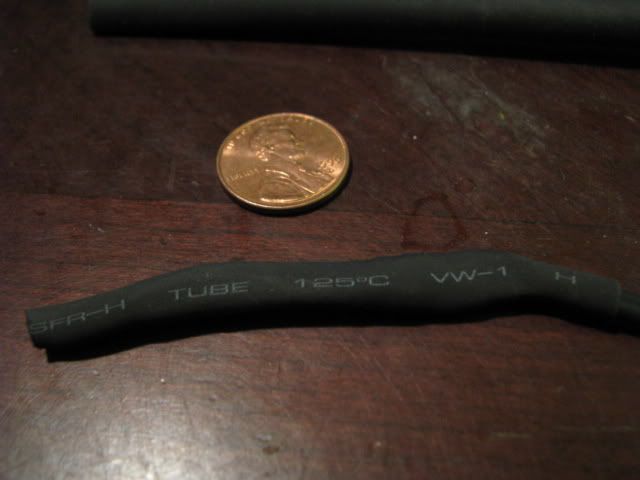
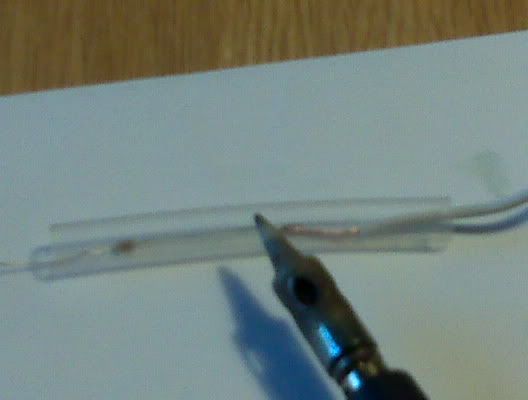
4. Slide some heat shrink tubing over all the exposed parts and use your soldering iron to shrink it down. I double layered mine for extra durability. *Note: I did not actually use that size tubing, it is way to big. I only used it for illustration purposes because it was clear.
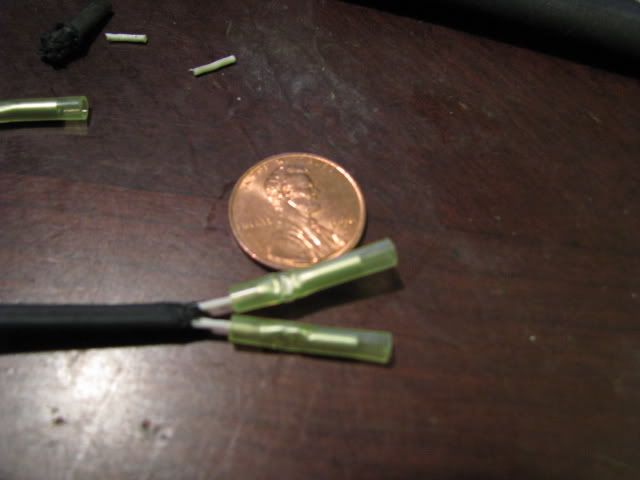
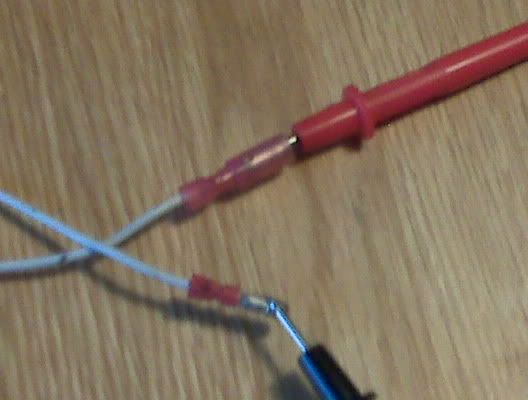
5. Crimp on your bullet connectors to the ends of your wires. I used one female and one male connector.
6. Take your multimeter, set to the same setting as before, and check the resistance on your bypass. Make sure its within 5% (very close) to your key's value.
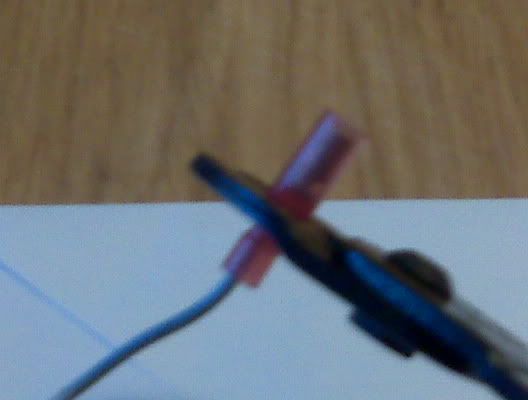
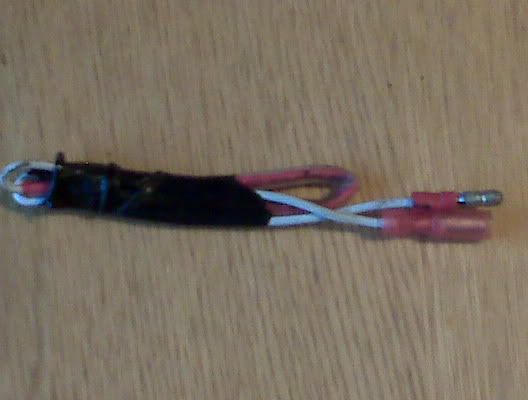
7. Mine ended up turning out a bit long. I folded it over a couple times and wrapped it in electrical tape.
FINISHED PRODUCT:
Now to install it in the car...
PART 2 - Installing your bypass
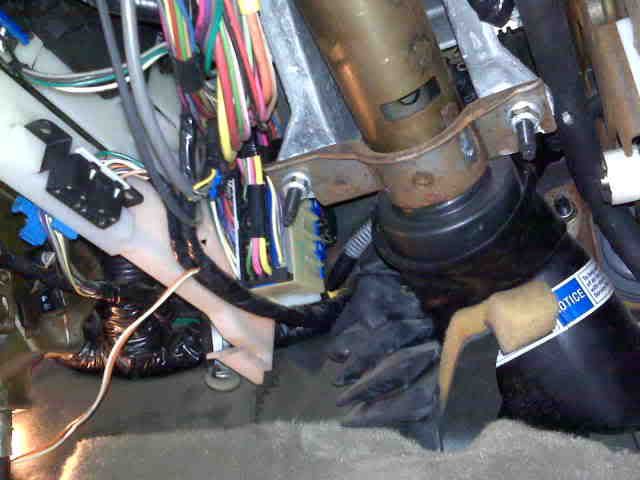
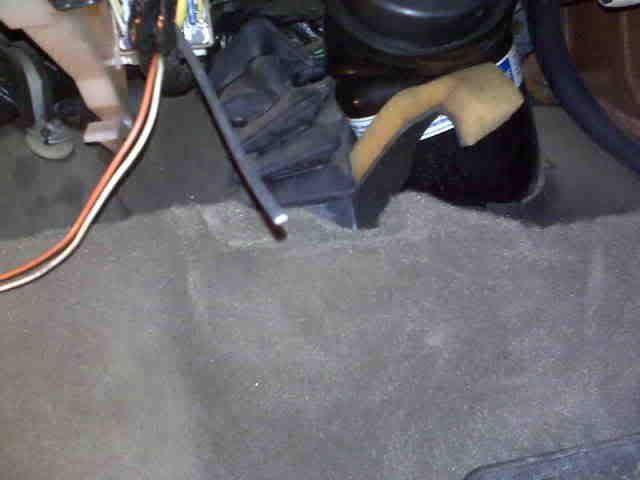
1. Move the driver's side seat all the way back, to get the most room. Lower the driver's side black noise/kick shield - 2 x 9/32" bolt head screws. Remove the light bulb, it twists and pulls right out. Wrap this bulb's wiring to get the bulb out of the way out of the way, it gets HOT and will burn you.
2. Look underneath the dash. First let me point out there is a YELLOW wire under there. DO NOT tamper with this wire in any way, its the air bag circuit and none of us should be messing with that type of stuff.
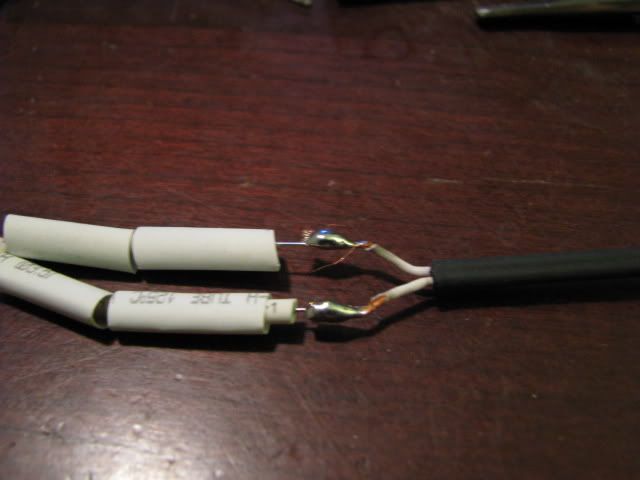
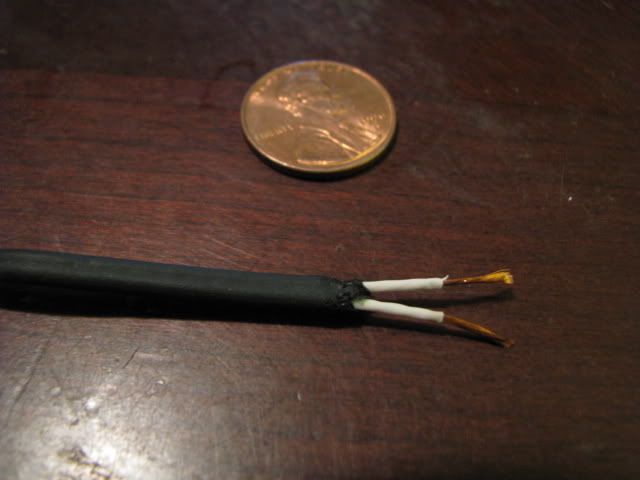
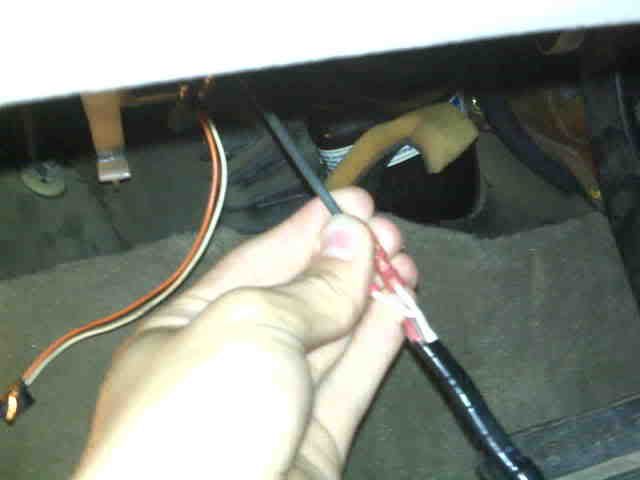
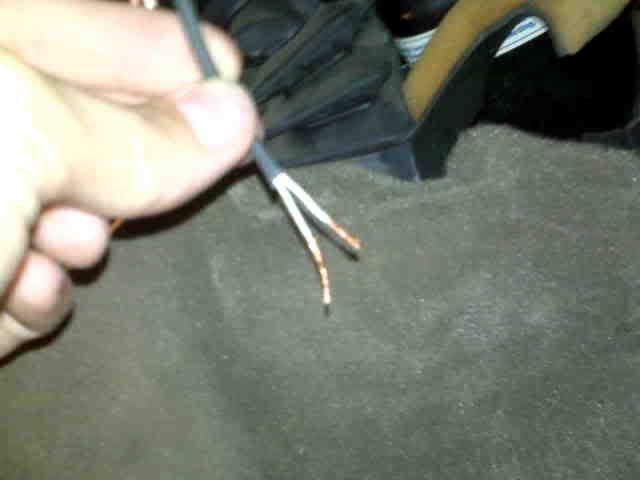
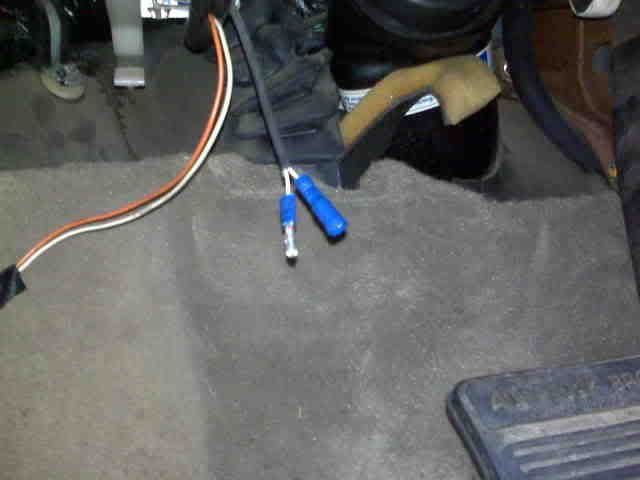
3. Now to find the wires we are looking for. You should see a dark grey and a light grey one. You want the dark grey. Cut it in the middle, strip off the outer sheath, at least 2 inches, off of the side leading to the firewall. Strip each of the two white wires underneath about an inch.

4. Go ahead and stick your key in the ignition and turn it to "run". You should get a "clean key" message and a security light. Turn the ignition off and remove the key. Then touch the wires to your bypass and have a friend turn the key back to run and see if you can start it. This makes sure that your bypass will work.

5. Fold the exposed wiring in half and twist tight and clean. They are THIN and need extra bulk to securly hold on to the crimp connectors.
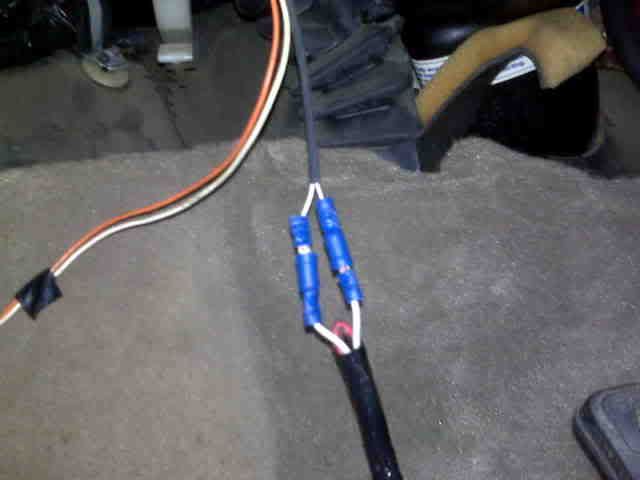
6. Crimp on your bullet connectors. I used one male and one female to match with the ones on the bypass. It does not matter which wire you hook which connector to. there will be a complete circuit either way.
7. Connect your bypass and try starting the car. If you get a solid security light but no "clean key" it will still start, just drive it around and the security light should go away within an hour.
The reason we used bullet connectors is so that now, if you park in a bad city/high crime area, you can disconnect this bypass and take it with you like a key or hide it in the car to deter theft. With this security system bypass like so, the car can be hotwired just as easily as a 50s model... If you want go ahead and tuck those wires away with a zip tie or twist tie, etc. so that its not hanging and swinging around.
Put your black kick panel back on and Enjoy!
Symptoms
"Clean Key - Wait 3 minutes" on DIC
Car will not start
Security light flashing on the dash
First try:
Cleaning the key
A different key
Cleaning the contacts in the ignition
Otherwise, your VATS/PassKey system has failed because the contacts in the ignition have worn out. This system works by reading the resistance of that "chip" in your key, which is not actually a chip but a mere resistor. The reading has to be within 5% of the set value for the computer to allow the starter to engauge. To properly fix this you need a new ignition cylinder, which is several hundred bucks installed. You may want to use an alternative route.
*You may also want to do this so you can use regular spare keys instead of the $40+ spares made at dealerships.
So, if all else fails, heres how to bypass the security system...
PART 1 - Making your bypass
1. Use a multimeter, set on resistance setting, to measure the resistance of the "chip" in your key. There are 15 different values, so yours may be different from mine. Write it down.
2. Visit your local electronics store and start buying resistors. You need to match up a set (if your lucky you will only need 1 or 2) that when put in series provides the same resistance to that of your key. This is the trickiest part, so ask the guys at the store to help you out or refer to a friend who is a wiz at this stuff. You may also shoot me a PM, I will try to help.
*While you are at the electronics store, grab some crimp-on bullet style connectors, get a set with both male and female connectors. You will use these later.
Solder these resistors together in series. You may want to trim the long ends down to make your set shorter and more managable.
*As an alternative, you may try popping out the resistor in your key and using this in place of the resistor set, it might be easier but I have never tried it.
3. Solder a few inches of medium gauge wire (I used 18 gauge) to the end of your resistor set.
4. Slide some heat shrink tubing over all the exposed parts and use your soldering iron to shrink it down. I double layered mine for extra durability. *Note: I did not actually use that size tubing, it is way to big. I only used it for illustration purposes because it was clear.
5. Crimp on your bullet connectors to the ends of your wires. I used one female and one male connector.
6. Take your multimeter, set to the same setting as before, and check the resistance on your bypass. Make sure its within 5% (very close) to your key's value.
7. Mine ended up turning out a bit long. I folded it over a couple times and wrapped it in electrical tape.
FINISHED PRODUCT:
Now to install it in the car...
PART 2 - Installing your bypass
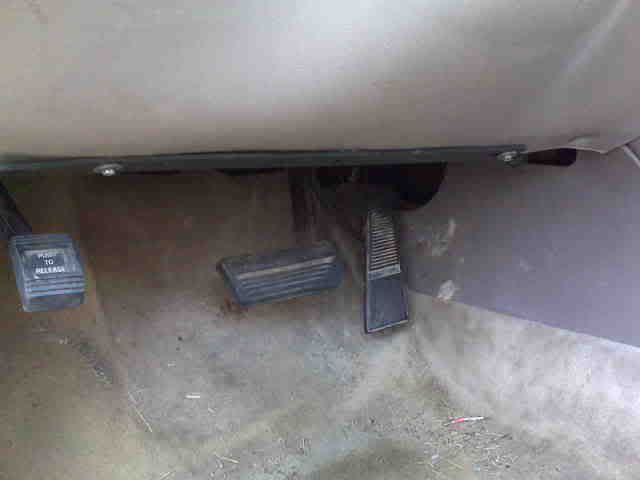
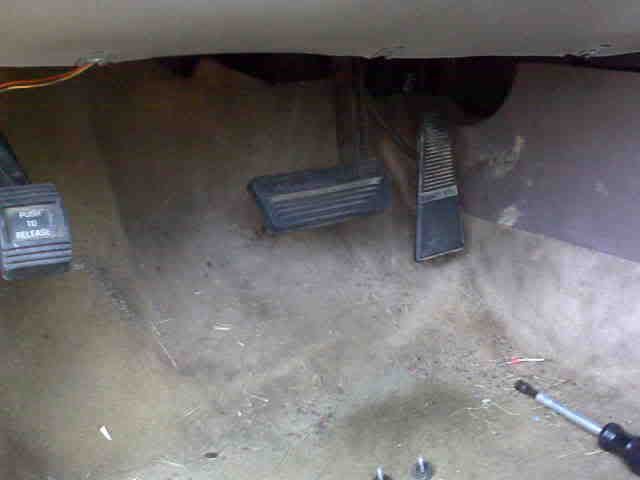
1. Move the driver's side seat all the way back, to get the most room. Lower the driver's side black noise/kick shield - 2 x 9/32" bolt head screws. Remove the light bulb, it twists and pulls right out. Wrap this bulb's wiring to get the bulb out of the way out of the way, it gets HOT and will burn you.
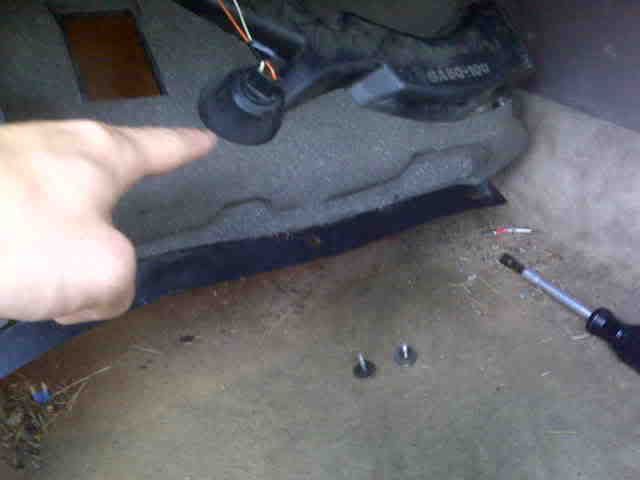
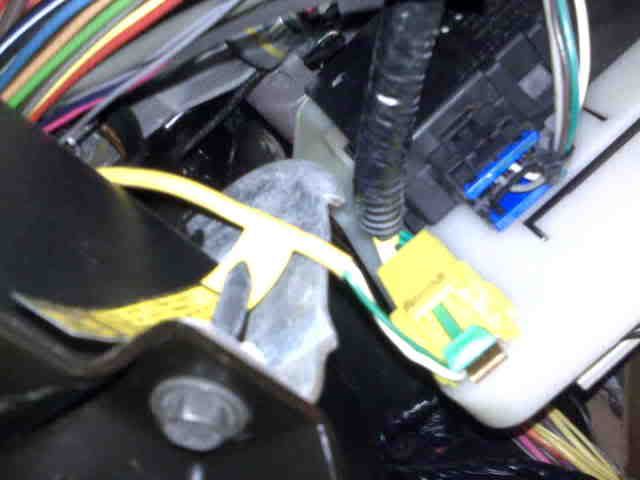
2. Look underneath the dash. First let me point out there is a YELLOW wire under there. DO NOT tamper with this wire in any way, its the air bag circuit and none of us should be messing with that type of stuff.
3. Now to find the wires we are looking for. You should see a dark grey and a light grey one. You want the dark grey. Cut it in the middle, strip off the outer sheath, at least 2 inches, off of the side leading to the firewall. Strip each of the two white wires underneath about an inch.
4. Go ahead and stick your key in the ignition and turn it to "run". You should get a "clean key" message and a security light. Turn the ignition off and remove the key. Then touch the wires to your bypass and have a friend turn the key back to run and see if you can start it. This makes sure that your bypass will work.
5. Fold the exposed wiring in half and twist tight and clean. They are THIN and need extra bulk to securly hold on to the crimp connectors.
6. Crimp on your bullet connectors. I used one male and one female to match with the ones on the bypass. It does not matter which wire you hook which connector to. there will be a complete circuit either way.
7. Connect your bypass and try starting the car. If you get a solid security light but no "clean key" it will still start, just drive it around and the security light should go away within an hour.
The reason we used bullet connectors is so that now, if you park in a bad city/high crime area, you can disconnect this bypass and take it with you like a key or hide it in the car to deter theft. With this security system bypass like so, the car can be hotwired just as easily as a 50s model... If you want go ahead and tuck those wires away with a zip tie or twist tie, etc. so that its not hanging and swinging around.
Put your black kick panel back on and Enjoy!