|
|
Post by clutch1 on Jun 14, 2010 23:24:28 GMT -6
|
|
|
|
Post by iammrhart on Jun 15, 2010 5:31:32 GMT -6
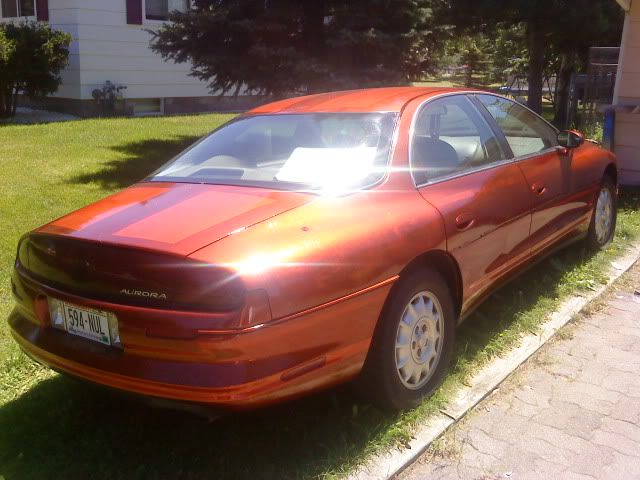
I have a 3" x 4" spot like the one you have on my rear quarter right behind the rear tire, looks like someone tried to fix it one, but not so well. I took it to 3 shops, each told me $300 - $400 and I thought about doing exactly what you just did, I would say I'm a decent mechanic, but not a body man, when we discussed their method of repair at least on place told me they was gonna us some kind of resin, of course I'm not totally dumb, and asked them about welding new metal on it, and mentioned that I could try it, of course they tried to discourage me, he said that welding new metal would warp the quarter panel, and blah blah blah. I said if I wanted him to bondo it I would do it my self. I'm not paying that kind of money for a bondo job. Seeing your pics is inspiring me to want to try it! I would like to definitely see pics when you finish, I have no time line to do my repair, cause I won't be driving my Aurora in the winter, what kind of welder did you use? was it a mig?
|
|
|
|
Post by rvrrat on Jun 15, 2010 10:38:06 GMT -6
Wow. never seen that kinda rust on a Classic before!! and I live in New England!!
Not to be rude, but thatis a very sloppy welding job... but its better that than the car rusting away!!
plus cheaper than taking it to a body shop.
|
|
|
|
Post by clutch1 on Jun 15, 2010 11:53:53 GMT -6
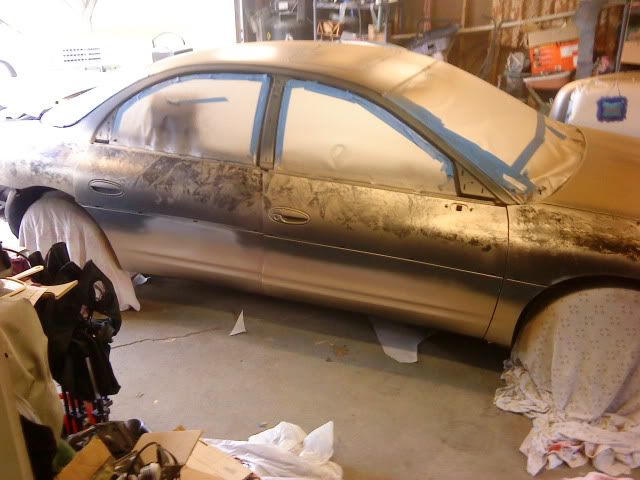
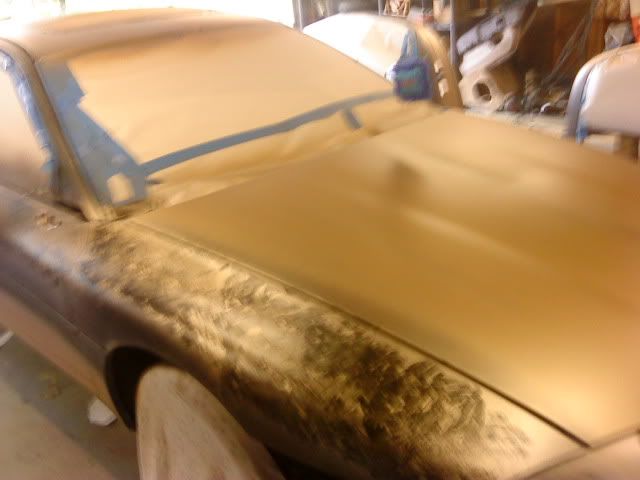
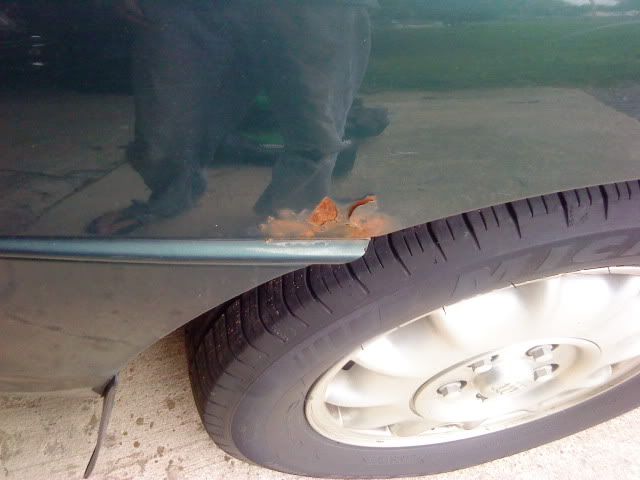
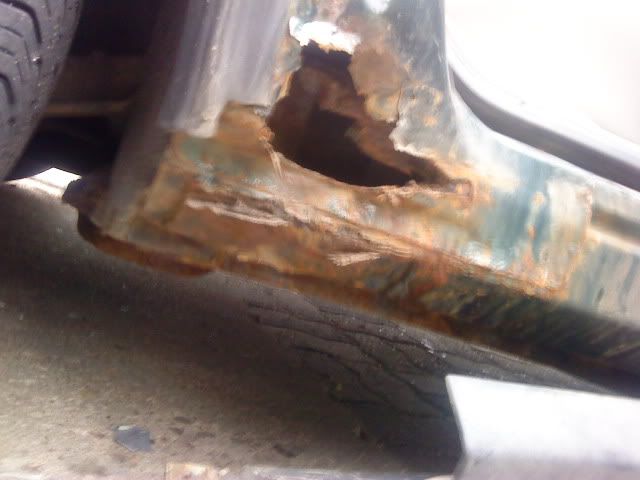
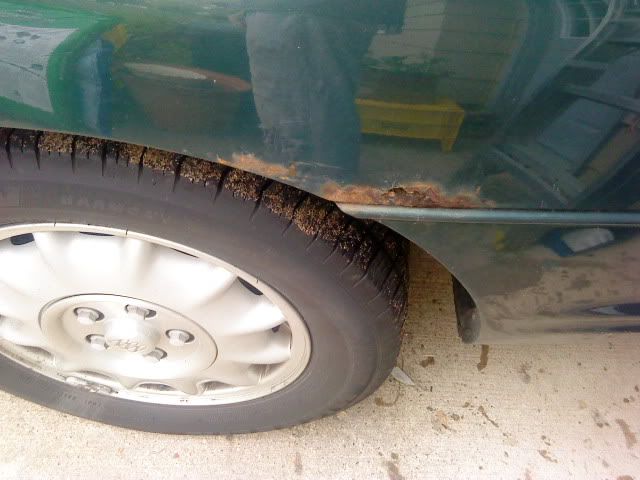
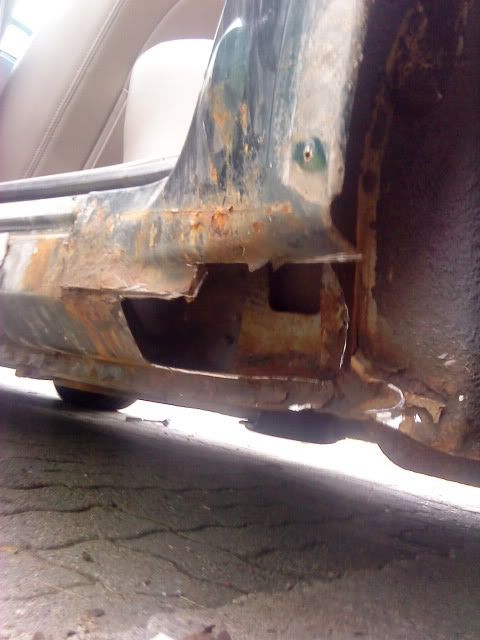
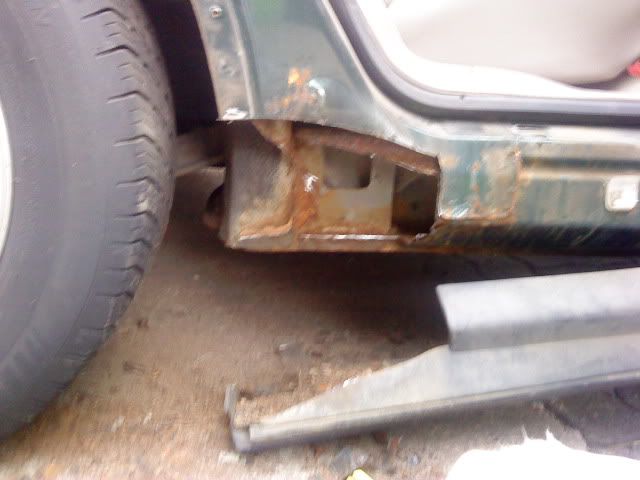
I have a sneaky hunch that a lot of Auroras are like this.. most of the door jamb rust was hidden underneath the rocker panel, and once I took it off I was shocked. And I know I've seen a lot with the quarter panel rust right where it meets the bumper.
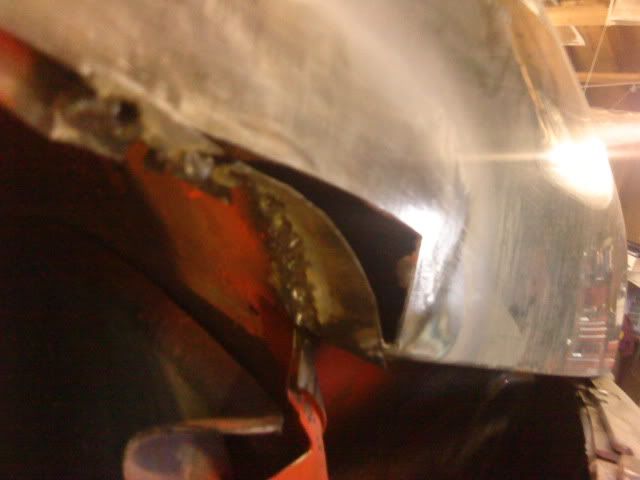
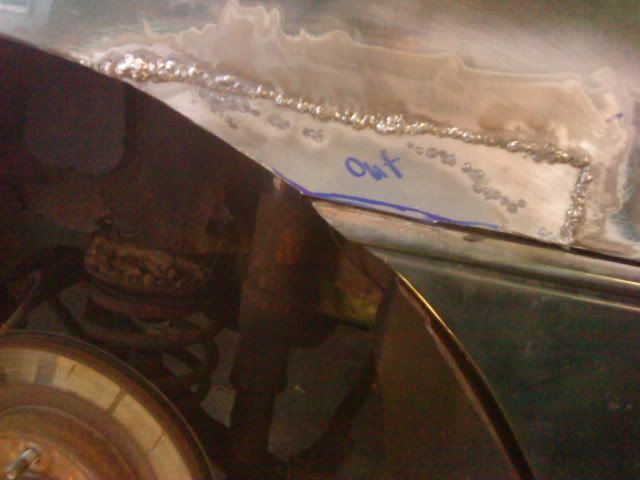
I use 110v Clarke MIG, yea. Sometimes it works pretty good, and other times it just won't cooperate. Like on the quarter panel. Those turned out decent (keep in mind it's a series of a zillion tacks, no beads), but the jamb piece was being very finicky.. but as long as it closes everything up they work for me.. just getting covered in undercoating or grinded down anyways!
As for a body shop using "resin" or something to fix rust like this.. stay away!! When metal actually rots (not surface rust or anything), it's going to keep going. Even media blasting won't stop it, I've seen rusty metal entirely stripped by being blasted, then covered in POR15, then fixed with bondo, and the rust came back. The only way to stop the cancer is to cut out everything that's rotting through. I probably should've cut even a little farther on the door jambs.. we'll see I guess.
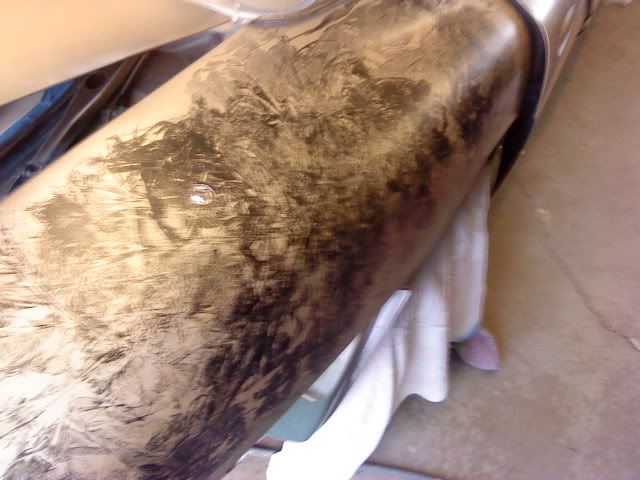
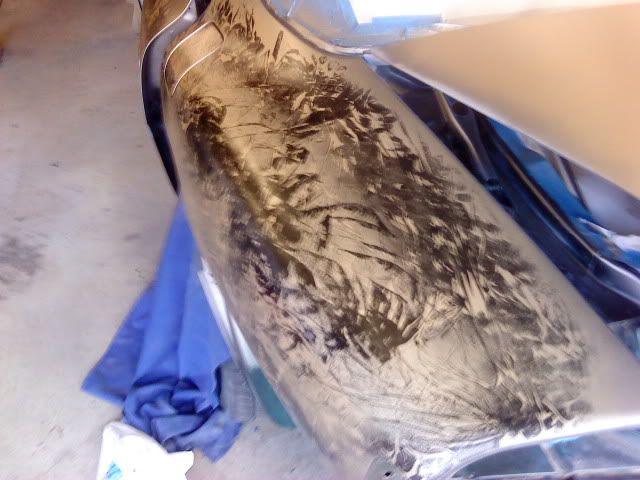
Welding will warp body panels super easy, so you gotta take it slow. Do a few tacks.. let it cool to the touch, a few more, etc. And jump around, can't just go in a line otherwise it'll sorta curl. Then go slow when knocking it down with a flap disc, too.. it's all about keeping heat out of the panel.
Gonna run and get some welding gas here.. lets see what I can get done tonight..
|
|
|
|
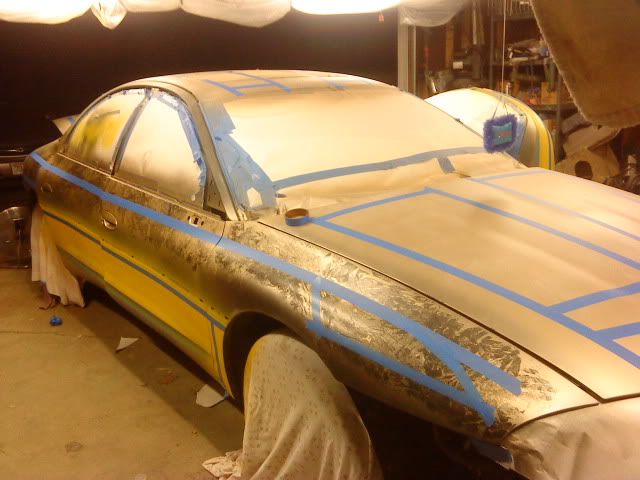
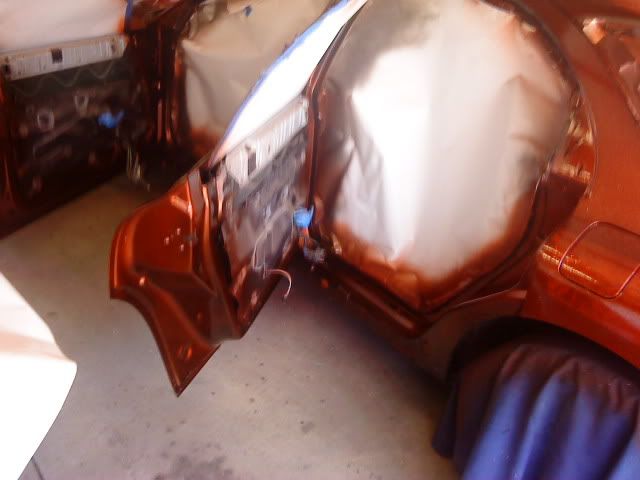
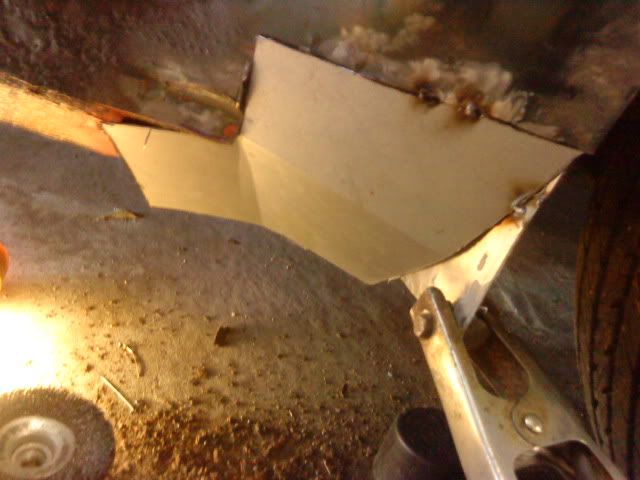
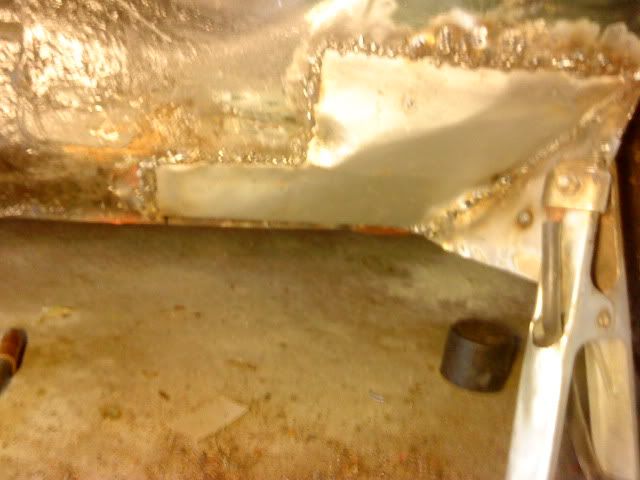
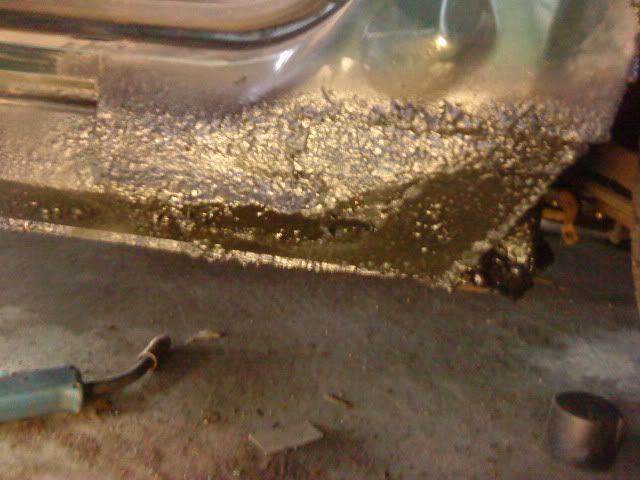
Post by clutch1 on Jun 17, 2010 18:17:31 GMT -6
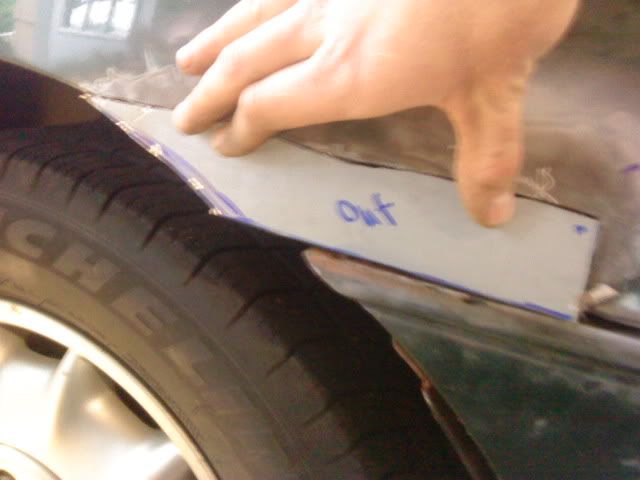
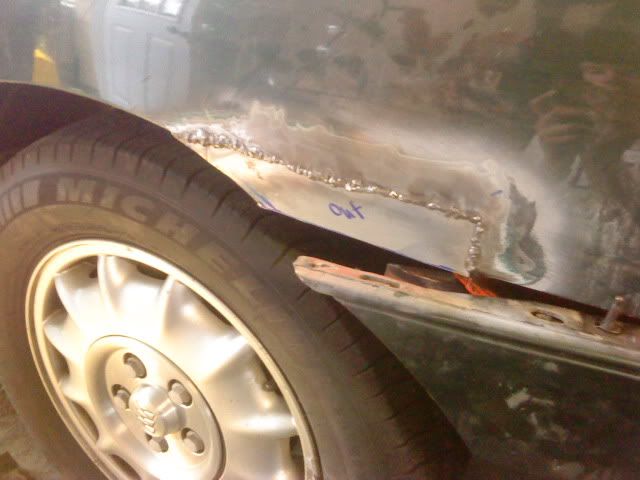
Here's some more workin. Got most of the body work roughed out. I blocked it with a small block, not super worried about a perfect panel. Here's some pics. Work on the passenger side: Interesting story.. my rear passenger window stopped working.. and that door has rust on it. HMMMM. Must have a leak in the belt molding that wiped the window motor and soaked the sound deadening.. I'm going to have to investigate... here's what I found Grinded it, cut it out 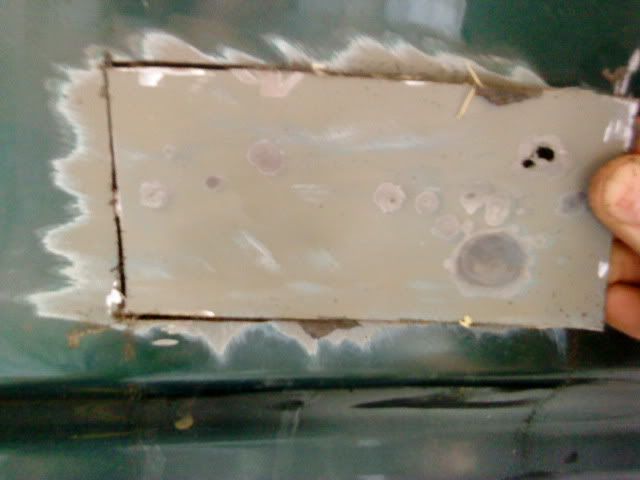 Back of the piece, along with the sound deadening that was behind it.. gross! 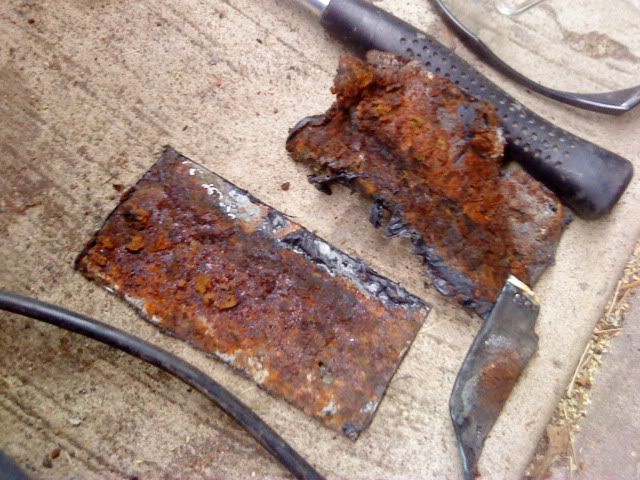 Crap pic of the filler plate 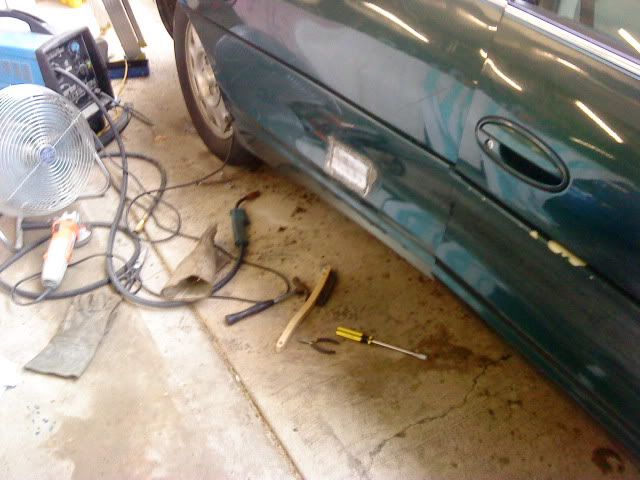 Filler piece to replace the wheel well metal that was rotted.. welded up the whole seam but didn't take a pic. 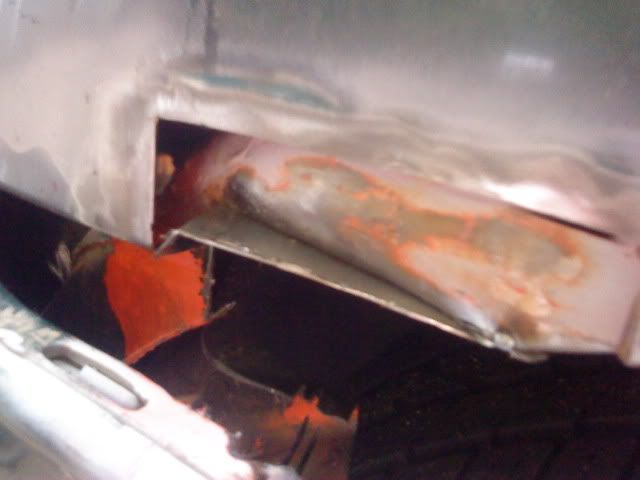 Filler 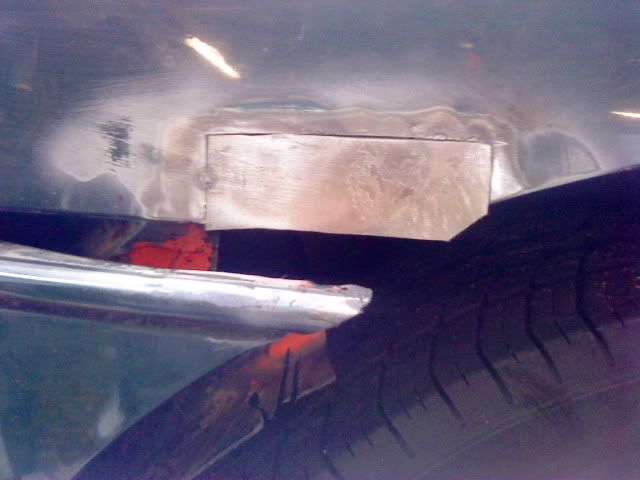 Gobbed some metal on 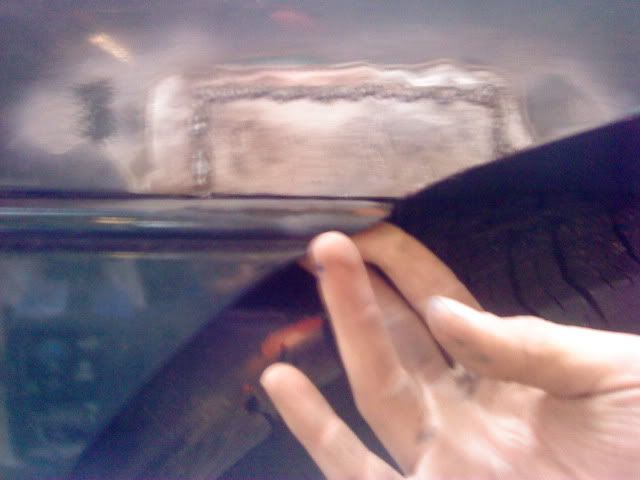 Hard to see, but welded up everything in the wheel well so that nothing leaks into the trunk.. then hit with some undercoating  Didn't take any pics of the process cuz I was getting tired, but here's the finished passenger door jamb 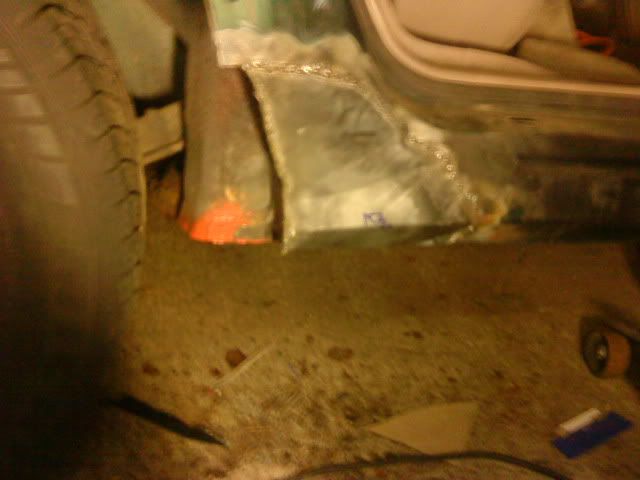 Quick and dirty filler work, then some rattle can primer to finish it off for the night.. since it's supposed to rain tonight   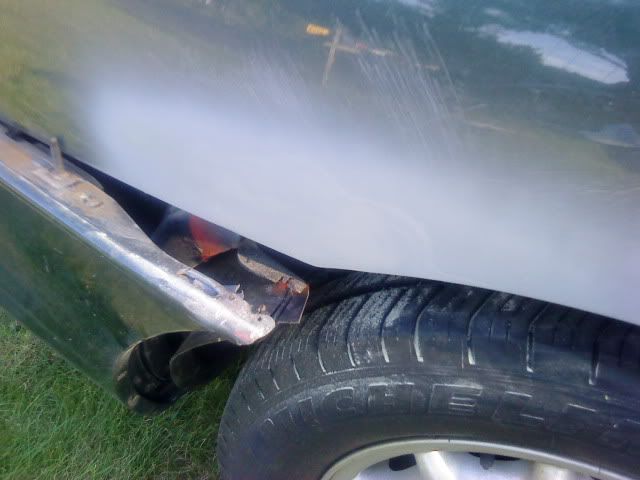 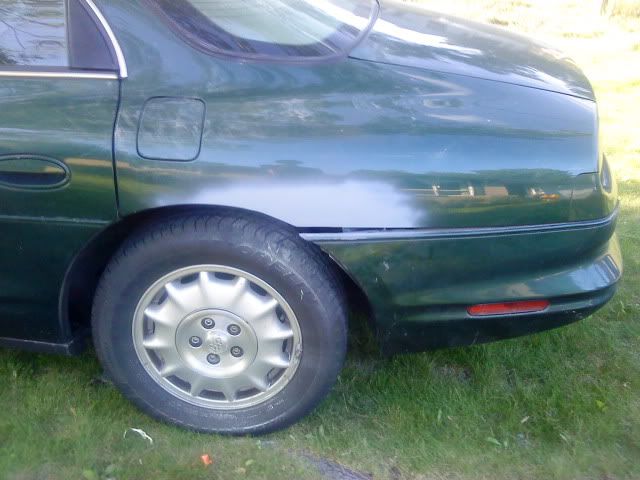 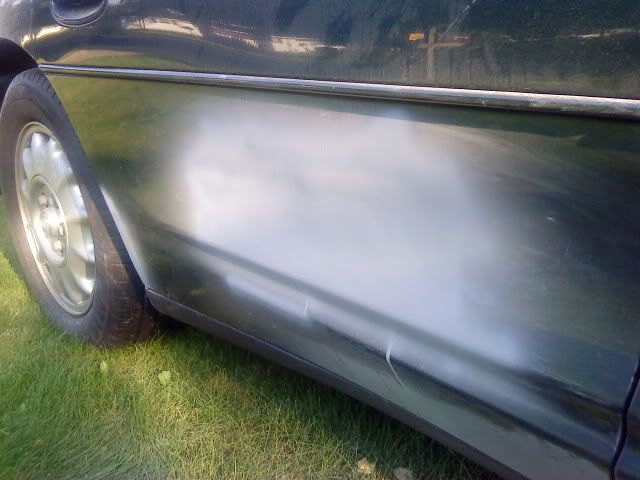 It's not a perfect body job.. but I'm happy with it. |
|
XJSman89
Administrator 
Posts: 6,309
Staff Member
|
Post by XJSman89 on Jun 17, 2010 19:05:30 GMT -6
Lookin' good, man! Nice work. I like the Park Ave rims on there too. ;D
|
|
|
|
Post by tpunk on Jun 18, 2010 0:18:11 GMT -6
I would say that's pretty good work, man. I'm impressed.
|
|
|
|
Post by BiGDawG on Jun 19, 2010 0:02:37 GMT -6
looking good i'm going to have to do something like this soon pass side door is rotting all over so is drivers rear door and a few spots starting to show on the front fenders
|
|
RCA1186
Administrator
Rob
Go Pack Go!
Posts: 4,838 
Staff Member
|
Post by RCA1186 on Jun 21, 2010 21:07:59 GMT -6
I don't think my rora has any rust thankfully haha. Kudos to you for doing it the right way though! Nice work. Buick rims? haha. And sloppy welds? Who cares what they look like when you are going to grind them smooth anyways...
|
|
|
|
Post by clutch1 on Jun 23, 2010 13:30:40 GMT -6
Those Buick rims.. yea they're from the Park Ave.. better tires than the ones on the Aurora's rims. I think once it's painted though I'm gonna put the Aurora ones back on.. gonna look super slick. Got sunday - thursday off next week... planning to de-construct, mask, paint, etc in that time period... I better get to sanding  |
|
|
|
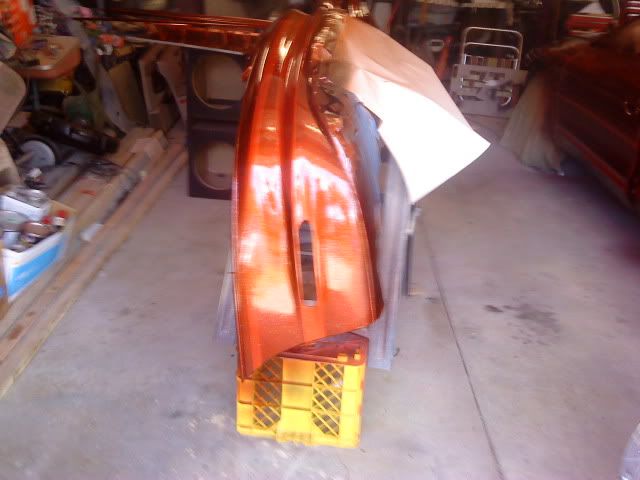
Post by clutch1 on Jun 24, 2010 0:14:56 GMT -6
Odered my paints today.. 3qts of clear "flake carrier" 1 pound of the silver chrome flake  3 qts of HOK Kandy tangerine  a qt of gold base a pint of copper base and 2 qts of clear Bye bye monies  Hello cool paintjob hopefully! |
|
XJSman89
Administrator
Posts: 6,309
Staff Member
|
Post by XJSman89 on Jun 24, 2010 8:45:33 GMT -6
WOW, clutch! That orange color will look fantastic. I can't wait to see the finished product. How much did it cost you altogether if you don't mind me asking?
|
|
|
|
Post by clutch1 on Jun 24, 2010 11:40:31 GMT -6
I sure hope you're right! Never sprayed flake or kandy before, it's kinda an experiment.
About $600 for materials, though!
|
|
|
|
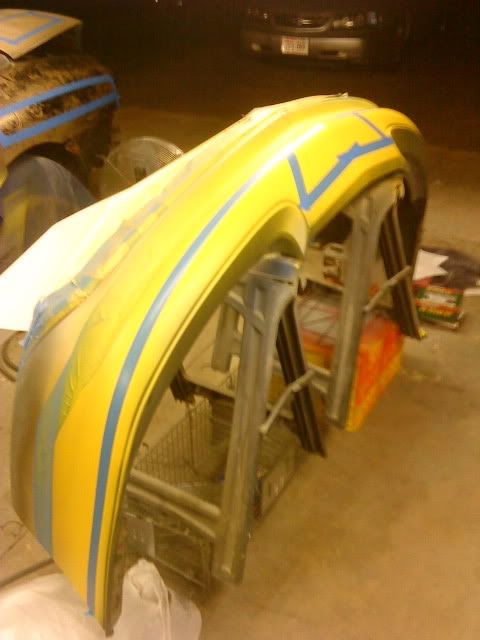
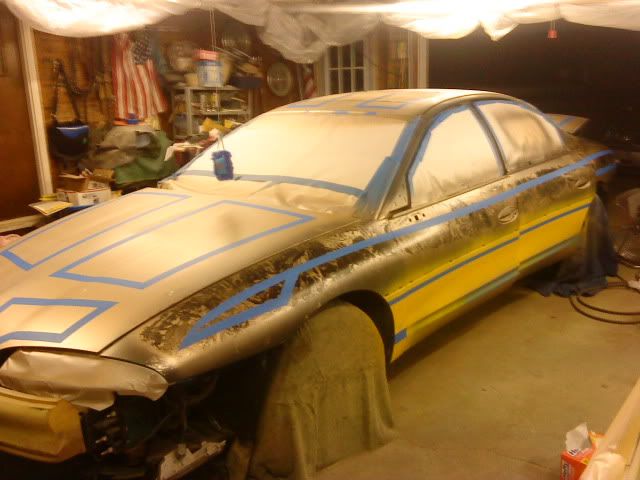
Post by clutch1 on Jun 26, 2010 21:02:45 GMT -6
Got everything town down today, and completely sanded.. it's ready to get wiped down and masked off on monday or so. 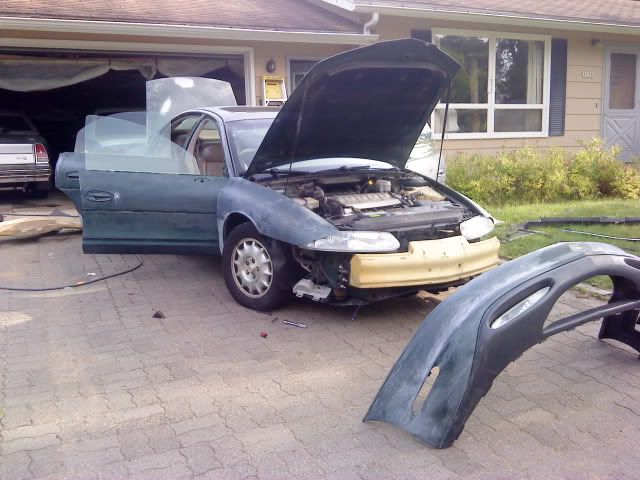 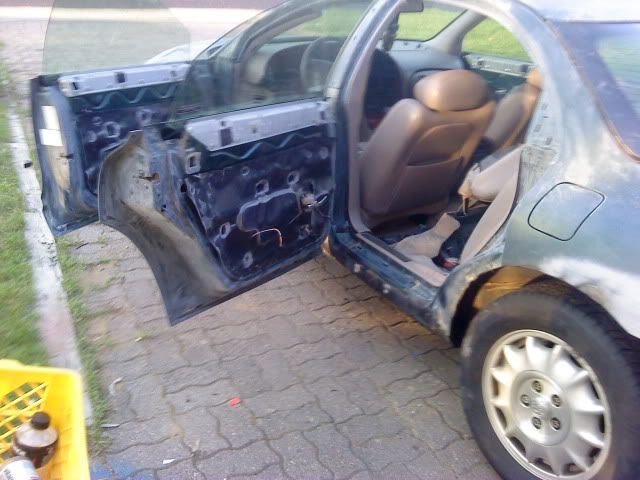 and also, WTF is this thing?? Found it under the front bumper, it's not connected to anything 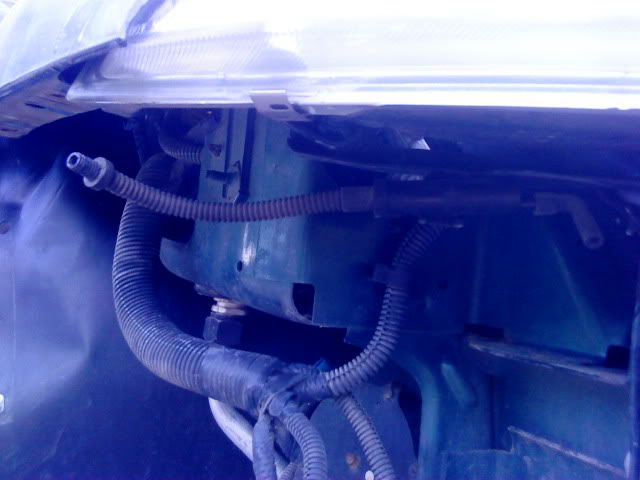 |
|
|
|
Post by clutch1 on Jun 28, 2010 16:15:54 GMT -6
|
|
|
|
Post by clutch1 on Jun 28, 2010 21:57:48 GMT -6
|
|
RCA1186
Administrator
Rob
Go Pack Go!
Posts: 4,838
Staff Member
|
Post by RCA1186 on Jun 29, 2010 21:28:48 GMT -6
Holy crap, wanna paint mine next? Haha keep us posted on the prgress!
|
|
|
|
Post by clutch1 on Jun 29, 2010 22:29:07 GMT -6
|
|
|
|
Post by lanceslambos on Jun 30, 2010 5:20:59 GMT -6
wow i've never seen that much rust on an Aurora before. nice saran wrap job, that thing's gonna look dope.
|
|
|
|
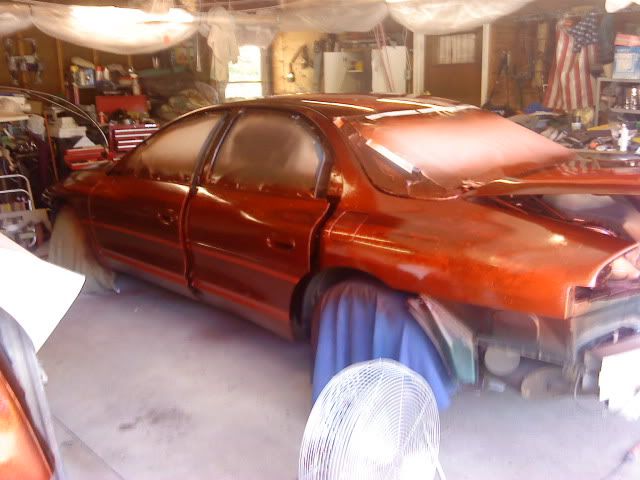
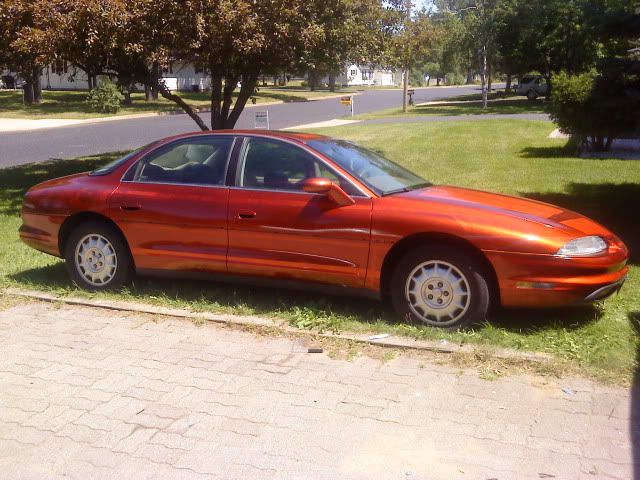
Post by clutch1 on Jun 30, 2010 15:26:30 GMT -6
|
|
XJSman89
Administrator
Posts: 6,309
Staff Member
|
Post by XJSman89 on Jun 30, 2010 15:41:43 GMT -6
Wow, man! It looks awesome! I love it! I call next!
|
|
|
|
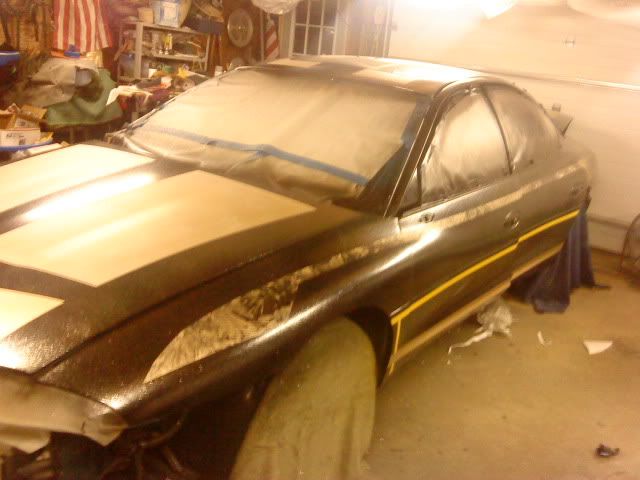
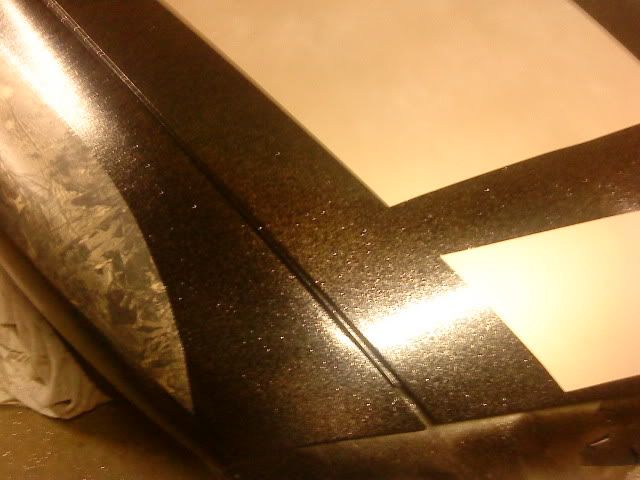
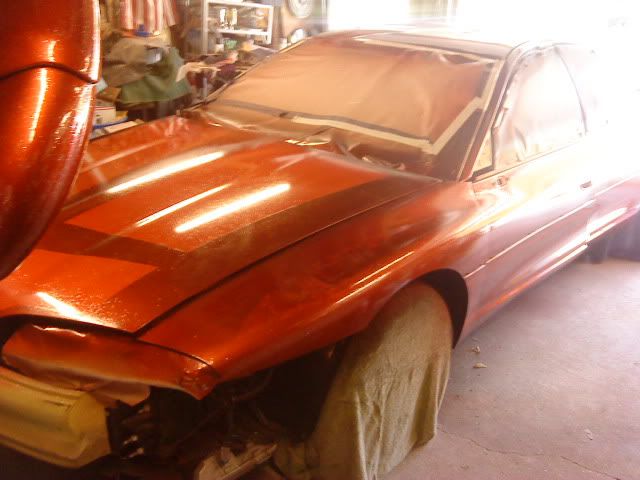
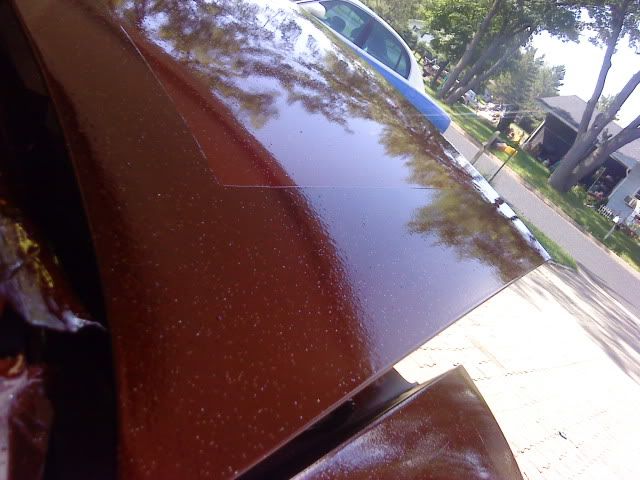
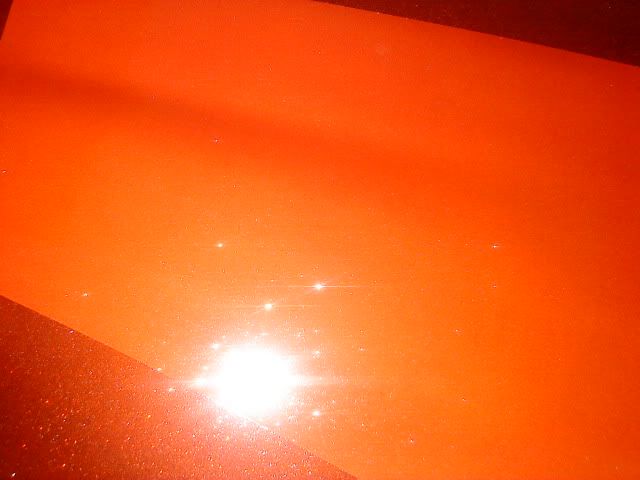
Post by clutch1 on Jul 2, 2010 1:22:54 GMT -6
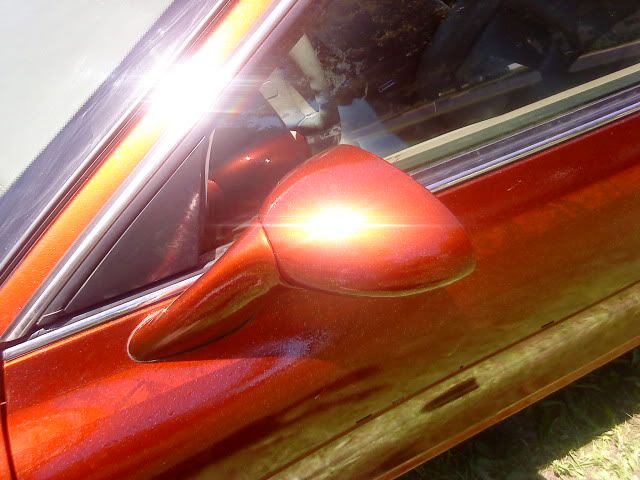
Oh goody, more Auroras to paint? hehe Didn't get a picture of the sun reflecting directly off the paint, d'oh. It sparkles very nicely, though, especially when you walk around it. It's a cool effect, I'm happy enough with it. 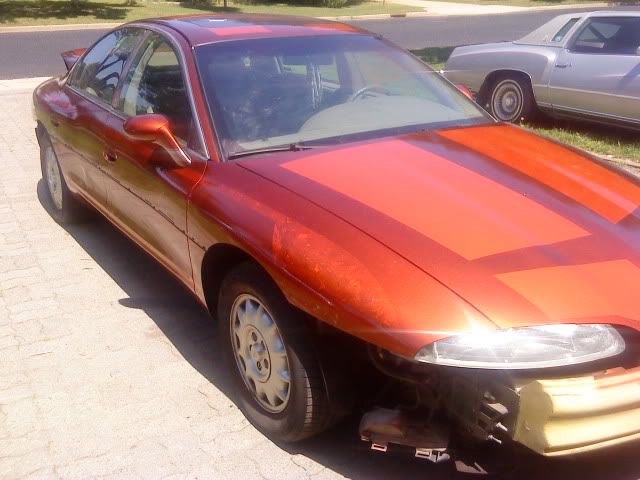 On a side note.. NEVER EVER NEVER park your car anywhere near the place you spray clear-coat. Ajsakhdkj, the MonteCarlo has overspray on it now.. gotta detail the dang thing. Oops, lesson learned. |
|
|
|
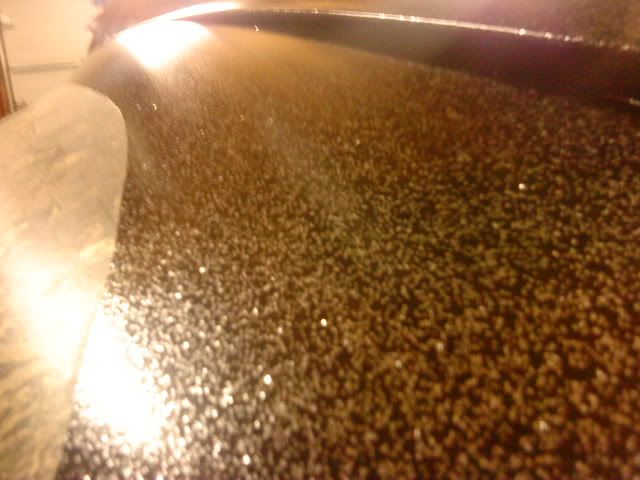
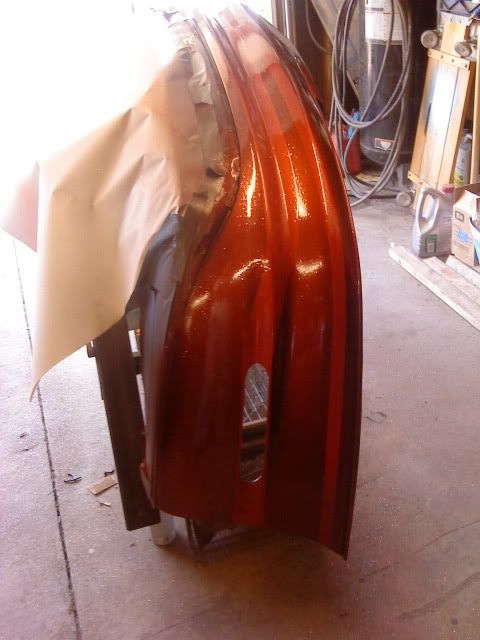
Post by snigood on Jul 2, 2010 8:44:32 GMT -6
It looks good man. You should definitely cut the clear coat and apply again. I see some orange peel because of the flake but overall nice job!! I am contemplating doing something similar but with midnight blue as my base color and no flake.
|
|
|
|
Post by clutch1 on Jul 5, 2010 21:36:31 GMT -6
|
|
XJSman89
Administrator
Posts: 6,309
Staff Member
|
Post by XJSman89 on Jul 6, 2010 14:16:59 GMT -6
I know I've said "wow" a lot but dang does that look good! I'm very impressed. Nice job!
What's the final count on everything? Cash? Time?
|
|
|
|
Post by clutch1 on Jul 6, 2010 17:59:20 GMT -6
$650ish for paint, $50 for flake (lots extra leftover though), 4 rolls of tape, about a half gallon of laquer thinner to clean the gun, a pack of disposable paint cups, a lil bit of bodyfiller, a pack of 220 grit sandpaper, 2 cans of spray-on undercoat (should really spray a lil more on, I think), a half bottle of welding gas, a scar on my foot from welding in flipflops.... I think that's the grand total, lol.
2 weeks start to finish on the project.
|
|
 Forum")


 1999 Oldsmobile Aurora Autobahn