|
|
Post by awehlage on Feb 10, 2015 12:26:26 GMT -6
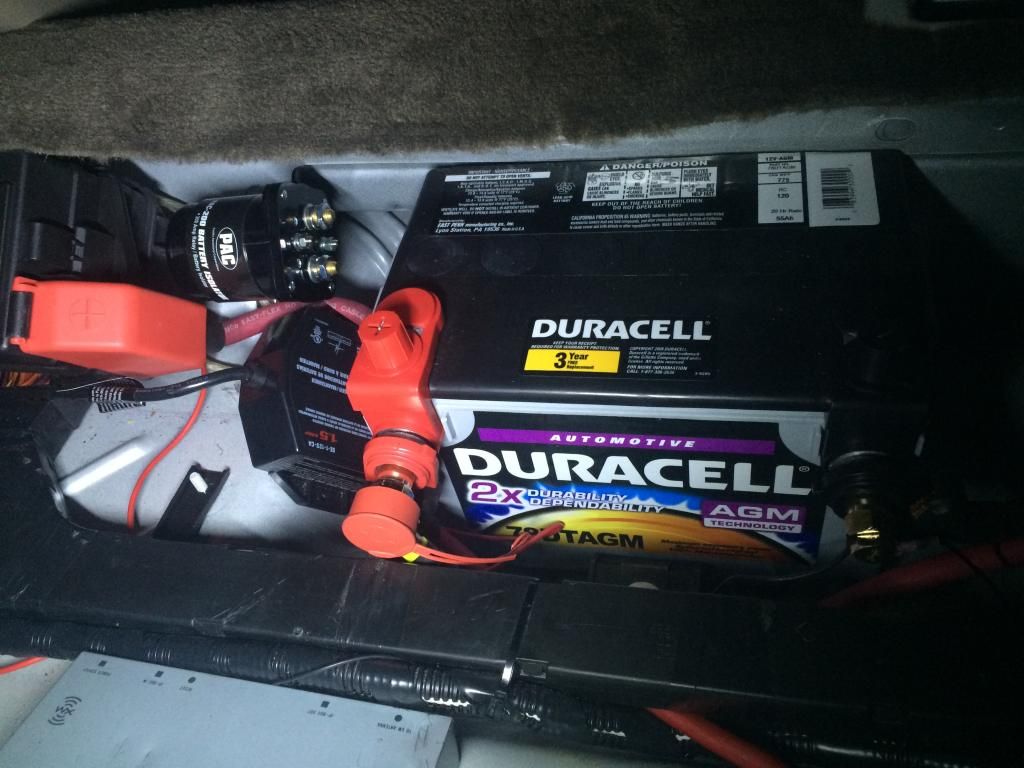
Just wanted to share my progress on an audio project I have been completing (along with Sall and his audio upgrade). Original Equipment: (2) Kicker CompVR 07CVR124 12" 4 ohm in ported enclosure (400W RMS each) Kenwood KAC-9105D (900W RMS @ 1ohm) Polk DB6501 6.5" front components with 1" tweeter Polk DB521 5.25" rear doors Polk DB691 6"x9" rear deck (2) Pioneer GM-D8601 4-channel amplifier New Equipment: (2) Soundqubed HDS312 12" 4 ohm in ported enclosure (1200W RMS each) Soundstream TA1.3000d (2500W RMS @ 1 ohm) (2) 34/78 Duracell AGM batteries (under rear seat for starting and in the trunk for all audio) 1/0 welding cable for new power runs (battery to alternator/starter, starting battery to auxillary battery, battery to mono amplifier) 2/0 welding cable for new ground runs for battery to chassis and alternator/engine block to chassis (3) TSPEC 1/0 inline fuse holder with 300A fuse (2) Rockford Fosgate 1/0 to (3) 4ga distribution block Pair of 1/0 to 4ga reducers 8 gauge wire from mono amp to subwoofer enclosure terminal 10 gauge wire from subwoofer enclosure terminal to subwoofer terminal Amp remote turn on relay PAC-200 200-Amp Relay Battery Isolator Custom voltage sensing relay to trigger PAC-200 KnuKonceptz Quad RCA (4-channel amplifiers and Dual RCA Mono amplifier) Various copper lugs, ring terminals, bolts, nuts, washers, etc. The plan: -Improve everything to do with the audio system!!! -Remove unnecessary equipment (OnStar/Cellular Communications modules, factory BOSE amplifier, relocate RIM module) -Isolate anything audio to run off the auxiliary battery in the trunk including being able to listen to audio with car not running but not drain starting battery. -Rattle the house windows from a couple blocks away (if I really wanted too!!) I'm sure i'm forgetting something but here are the pictures.... New 2/0 ground (L) vs factory 4ga ground (R)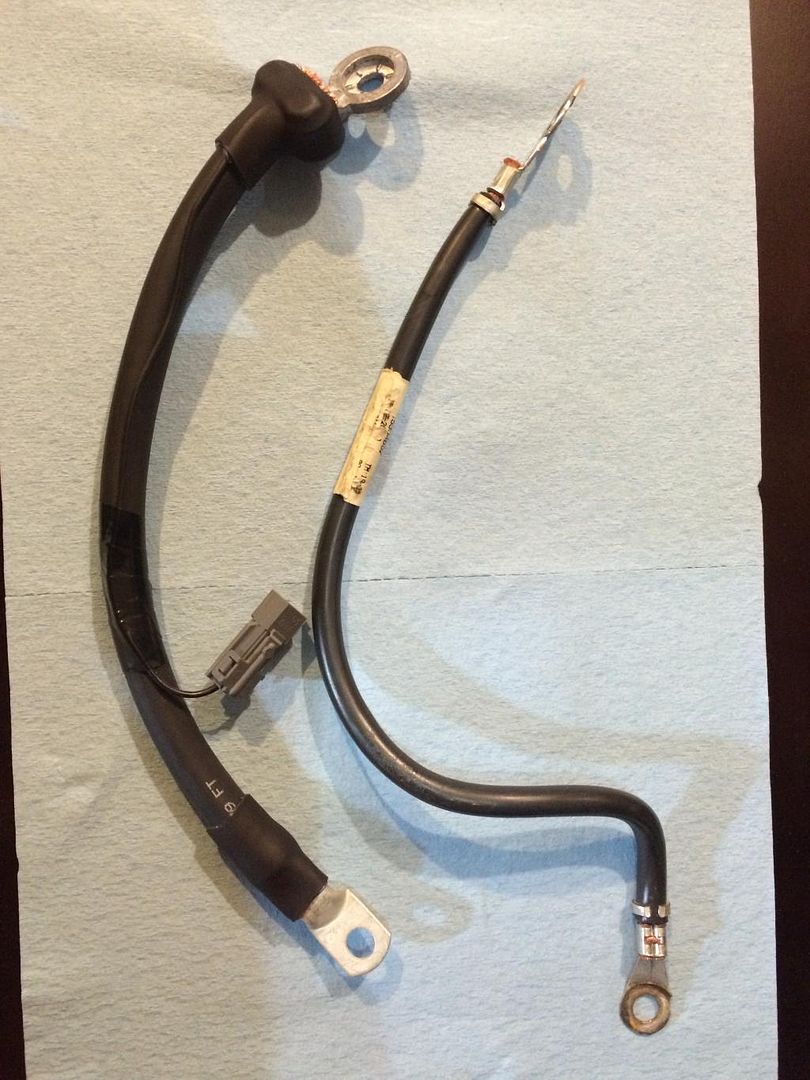 New 1/0 alternator power (L) vs factory 8ga alternator power (R) New 1/0 alternator power (L) vs factory 8ga alternator power (R) Front junction box connection utilizing factory terminal Front junction box connection utilizing factory terminal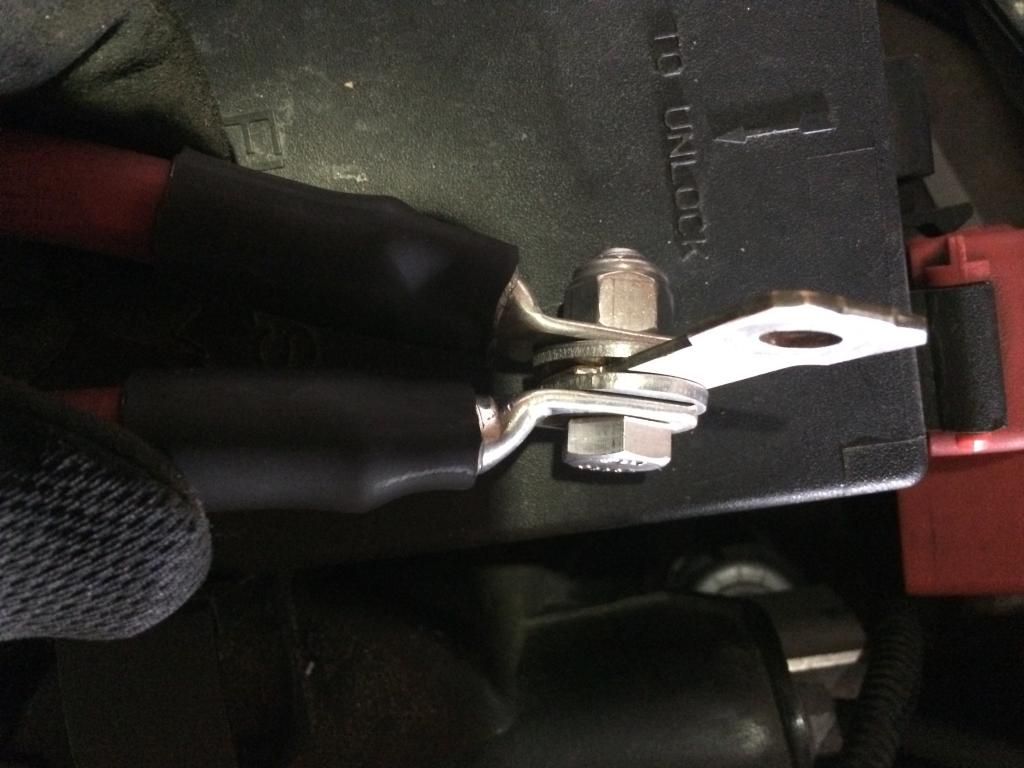 Front junction box to 1/0 alternator and 1/0 starter runs Front junction box to 1/0 alternator and 1/0 starter runs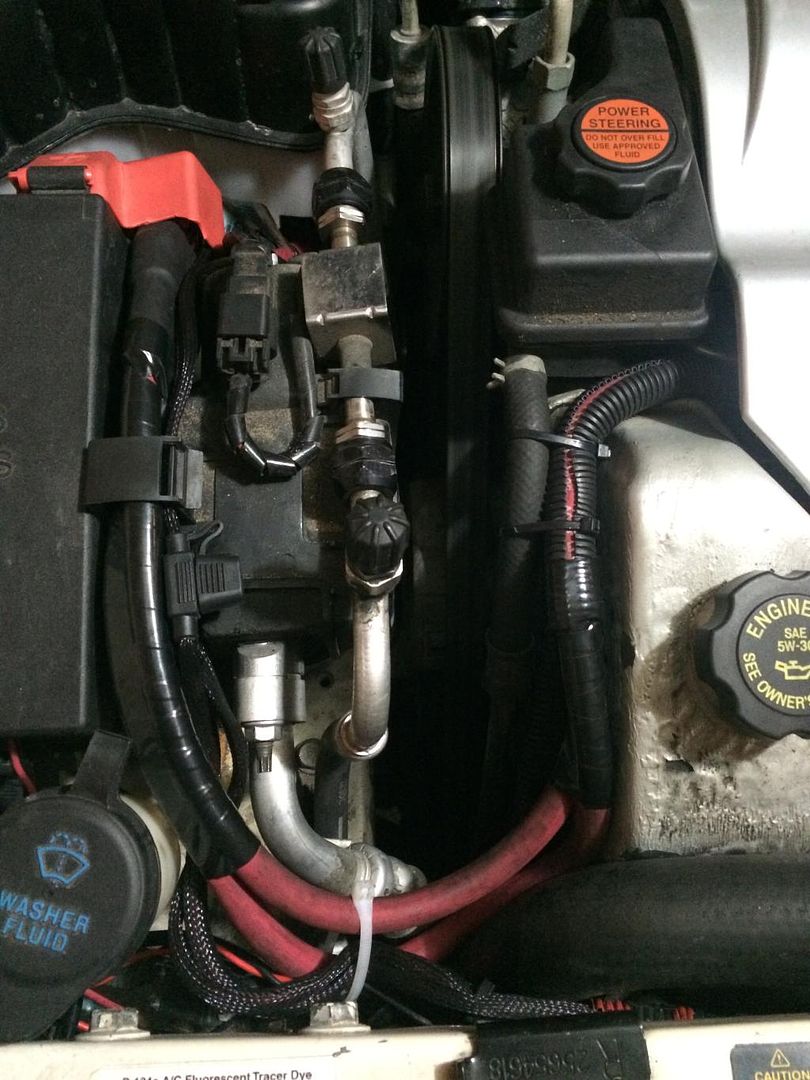 Out with the old and in with the new Out with the old and in with the new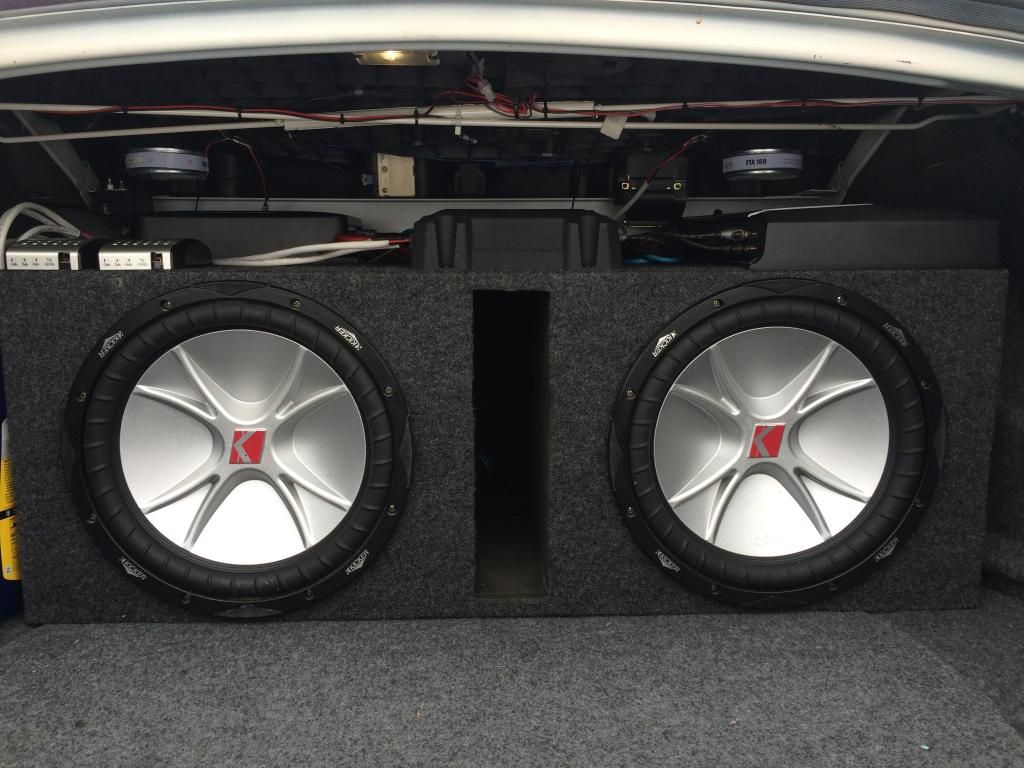 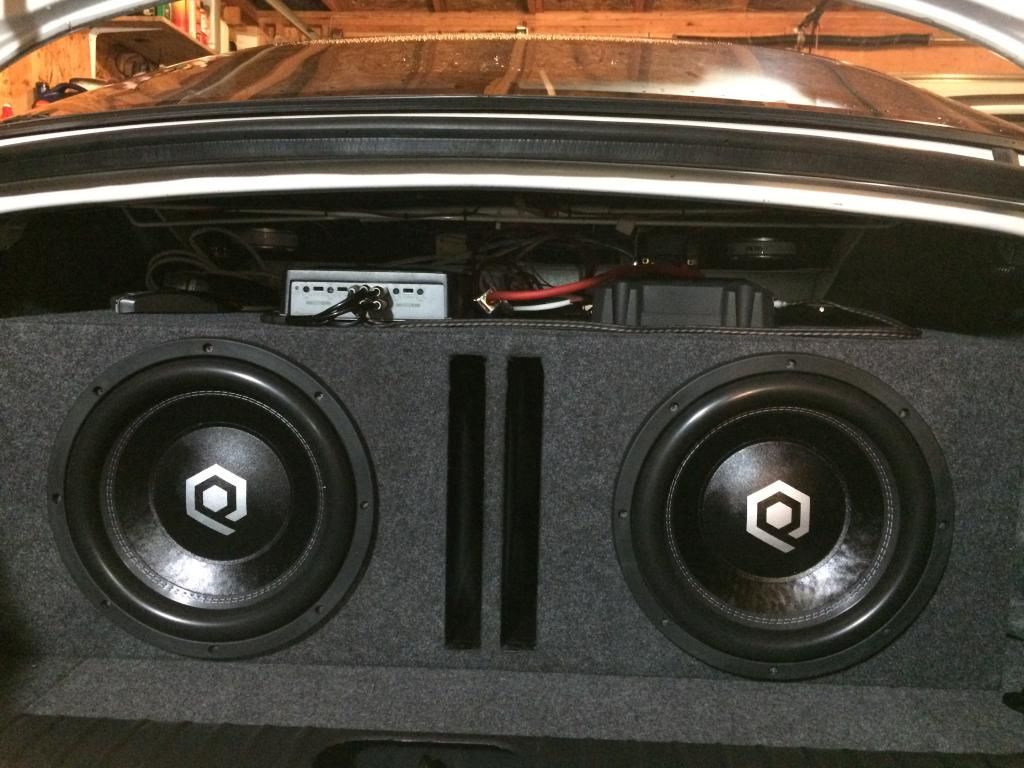 ^missing new Pioneer 4-channel amp on the right Remote turn on relay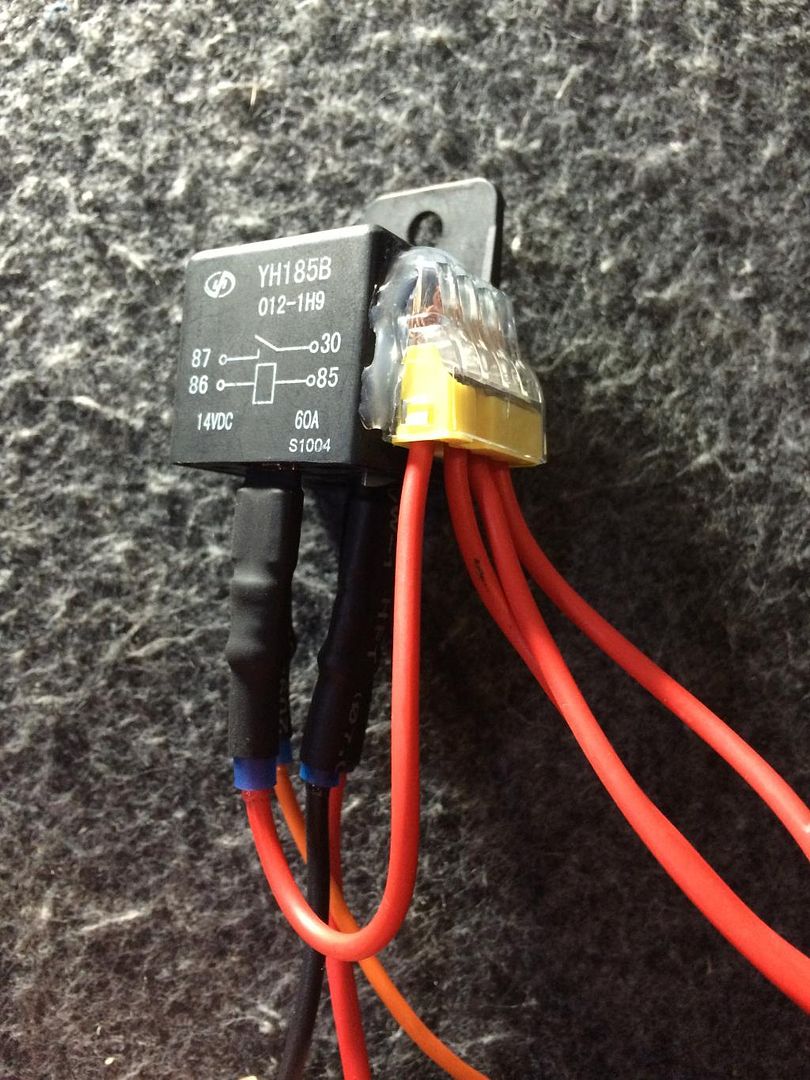 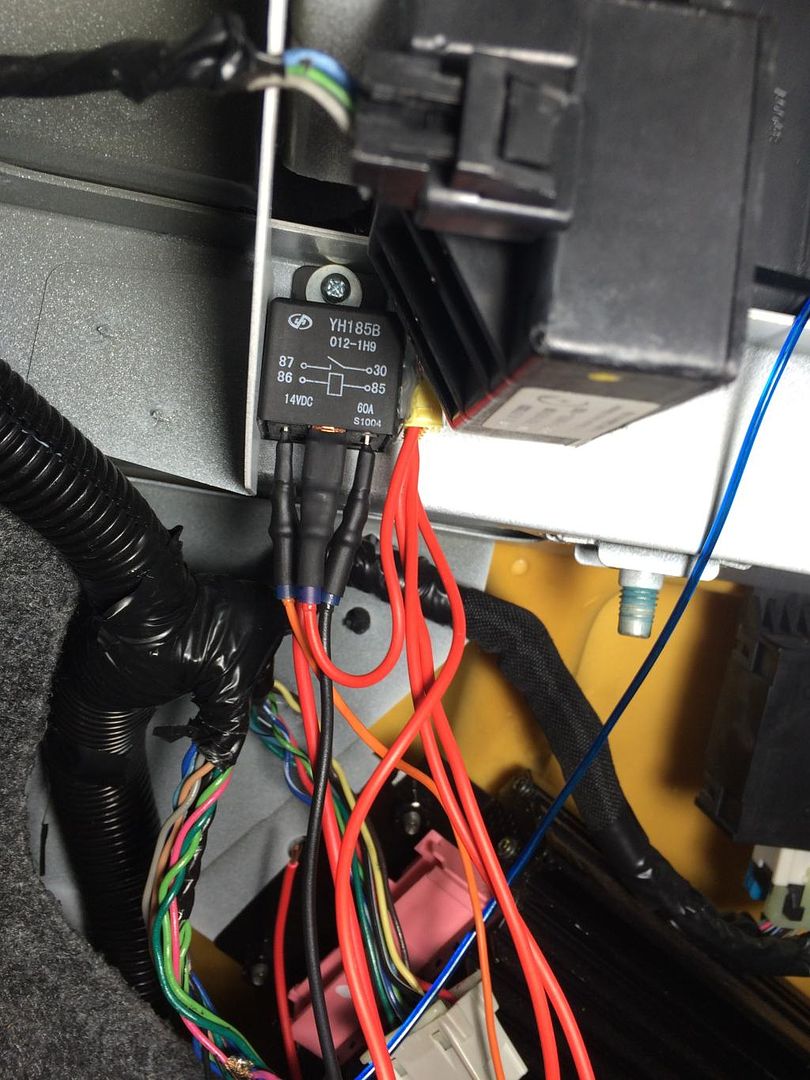 ^you can still see the BOSE amp installed and RIM module in factory location Replaced push down terminals with SS bolts and nuts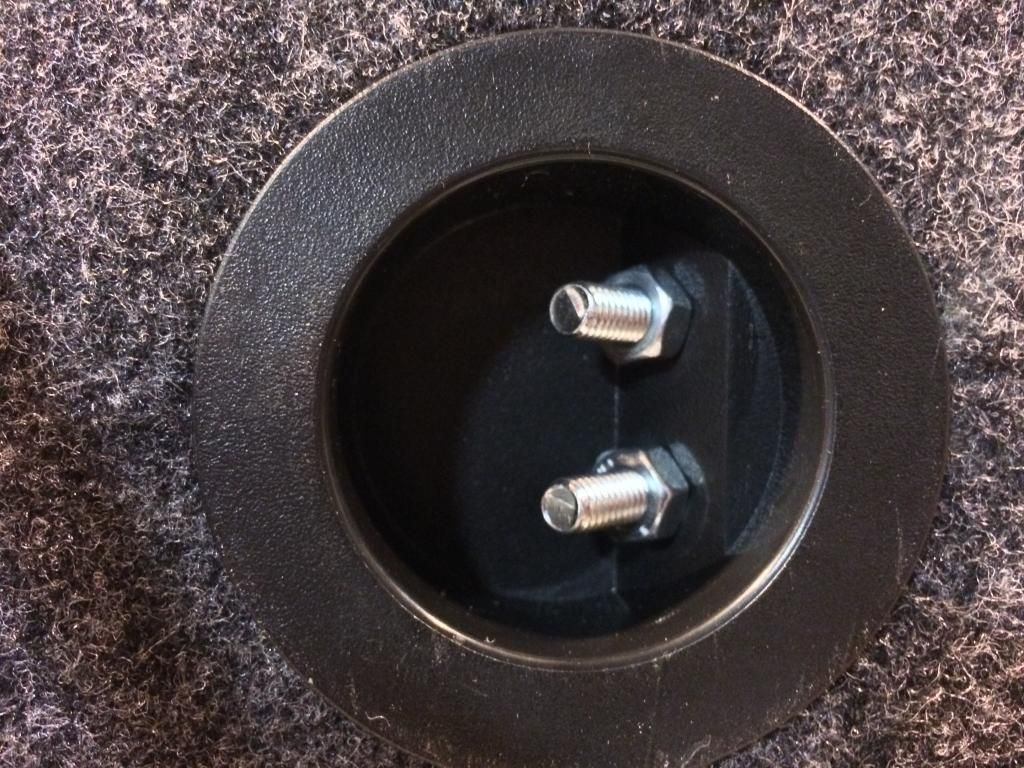 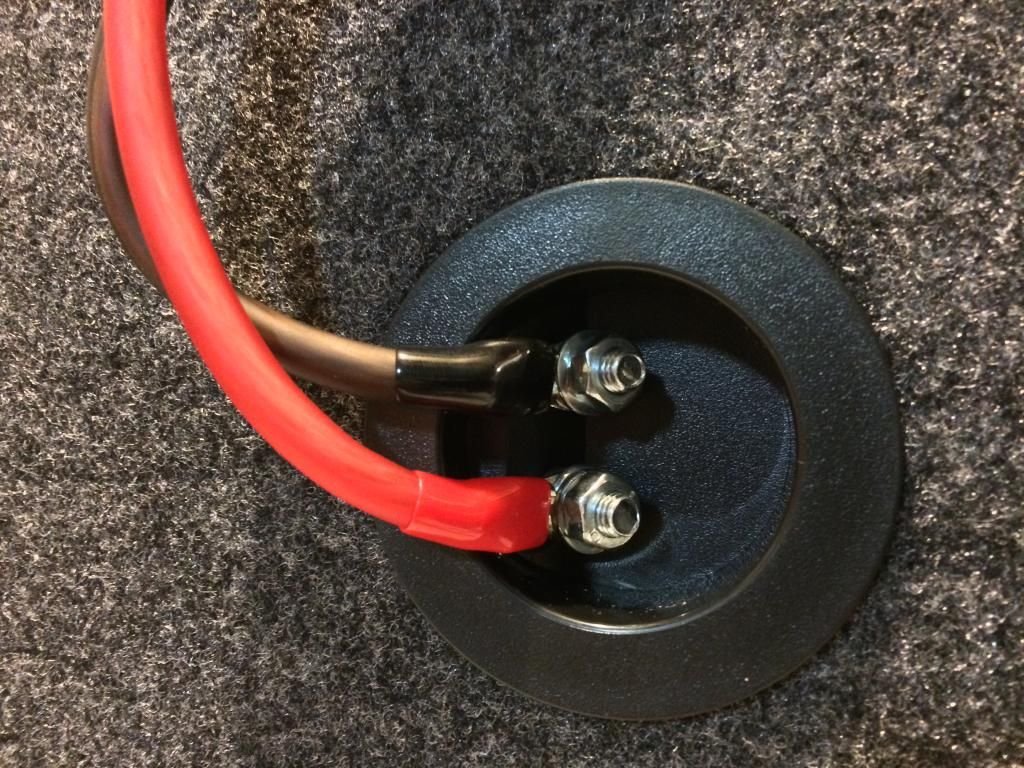 Some pre-wiring (freezing outside) Some pre-wiring (freezing outside)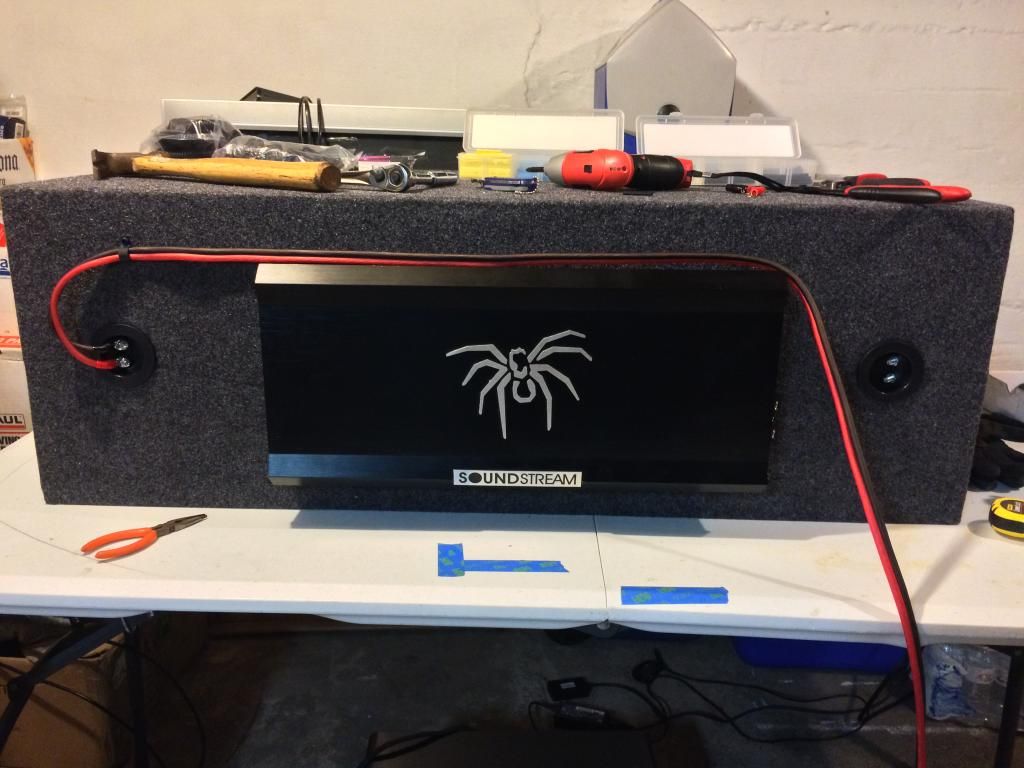 Subs wired to 1 ohm load Subs wired to 1 ohm load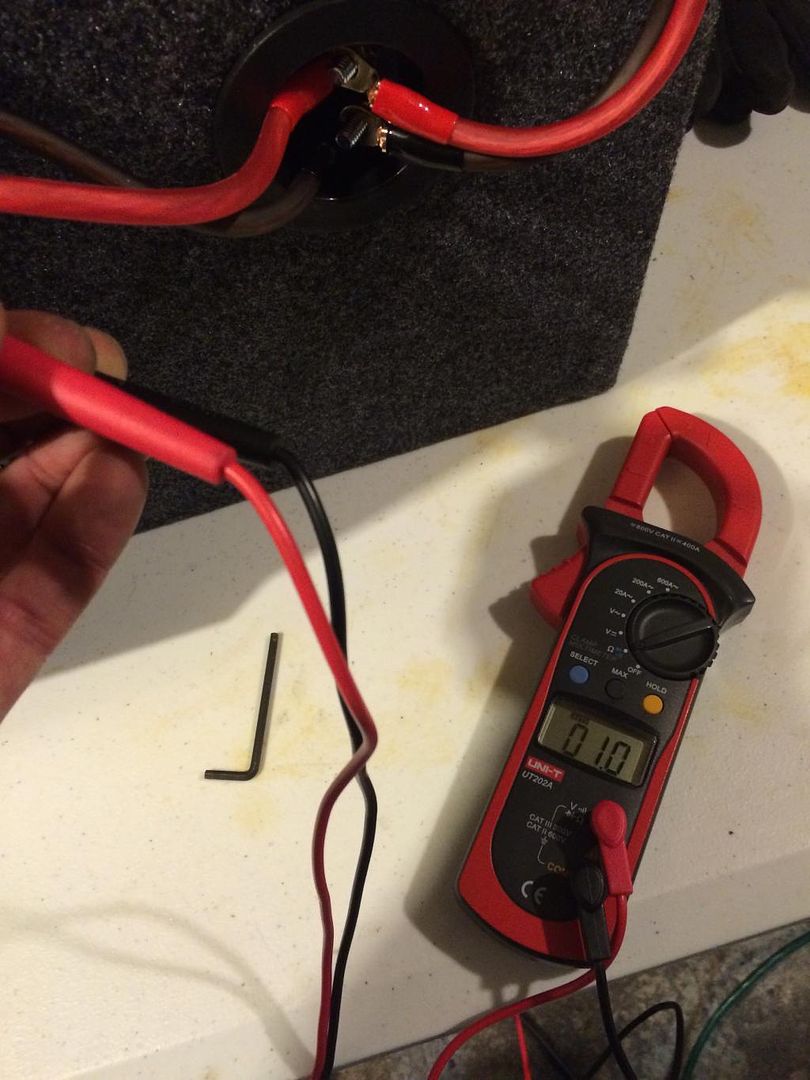 A boo-boo when putting enclosure into the trunk. Mono amp nicked the bumper. Will fix it in the spring A boo-boo when putting enclosure into the trunk. Mono amp nicked the bumper. Will fix it in the spring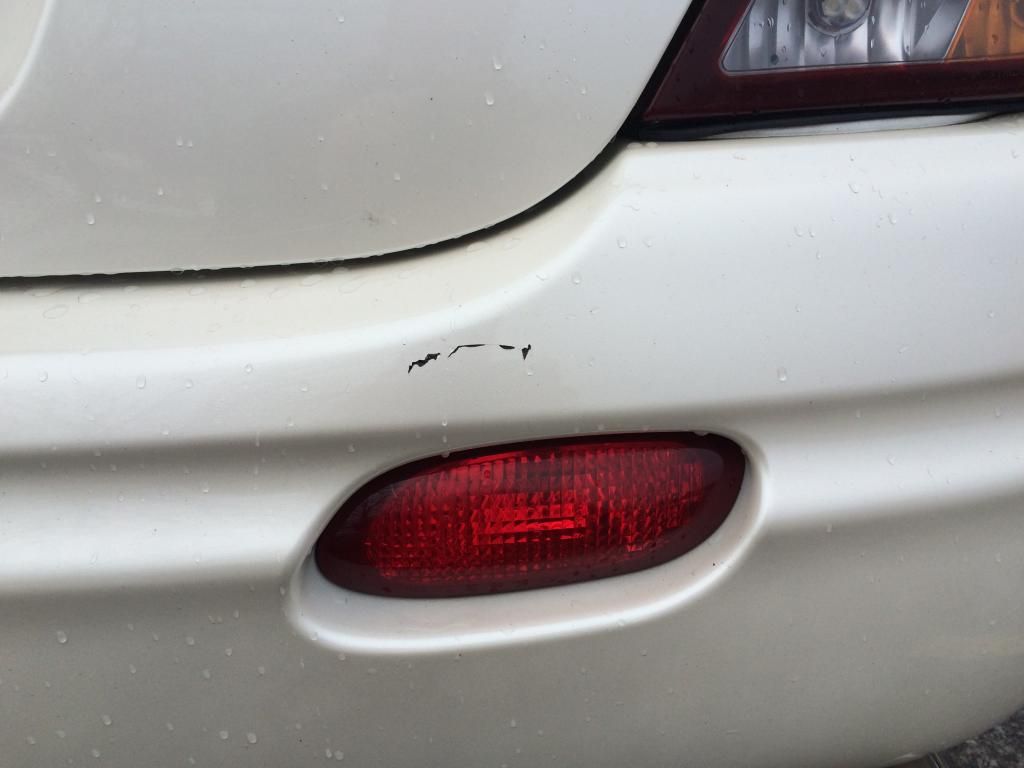 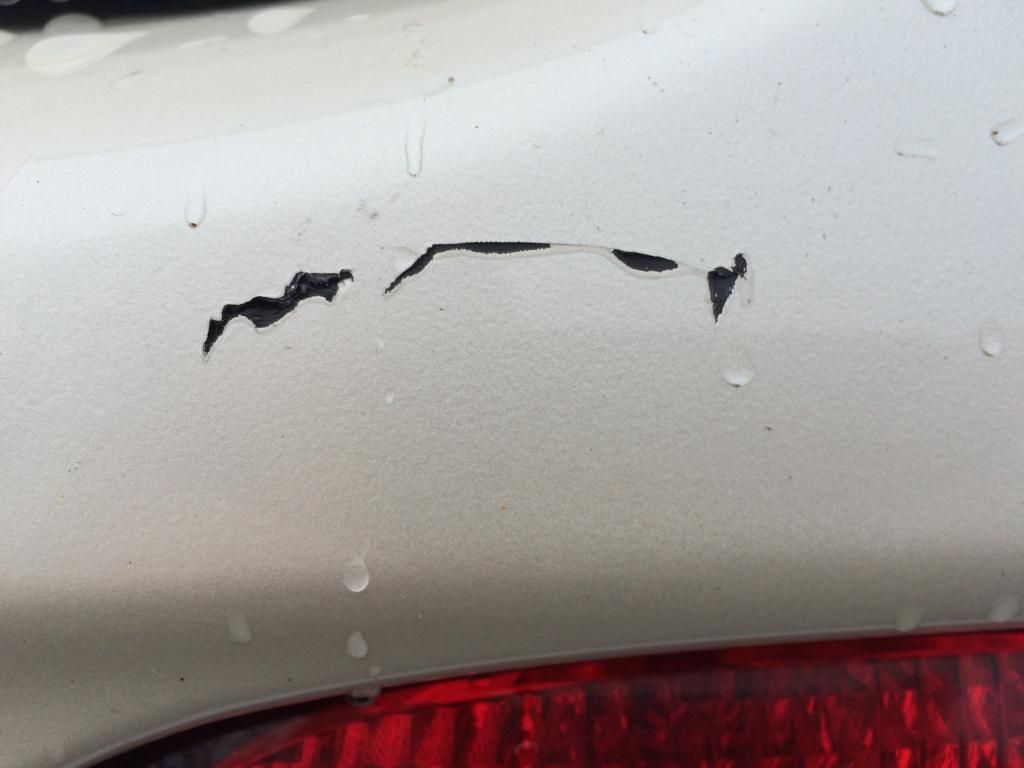 ^not as bad as it looks. sand, plastic flexible filler, sand, primer, matching paint, wet sand, clear coat, wet sand OnStar/Cellular Communications Modules...factory location and removed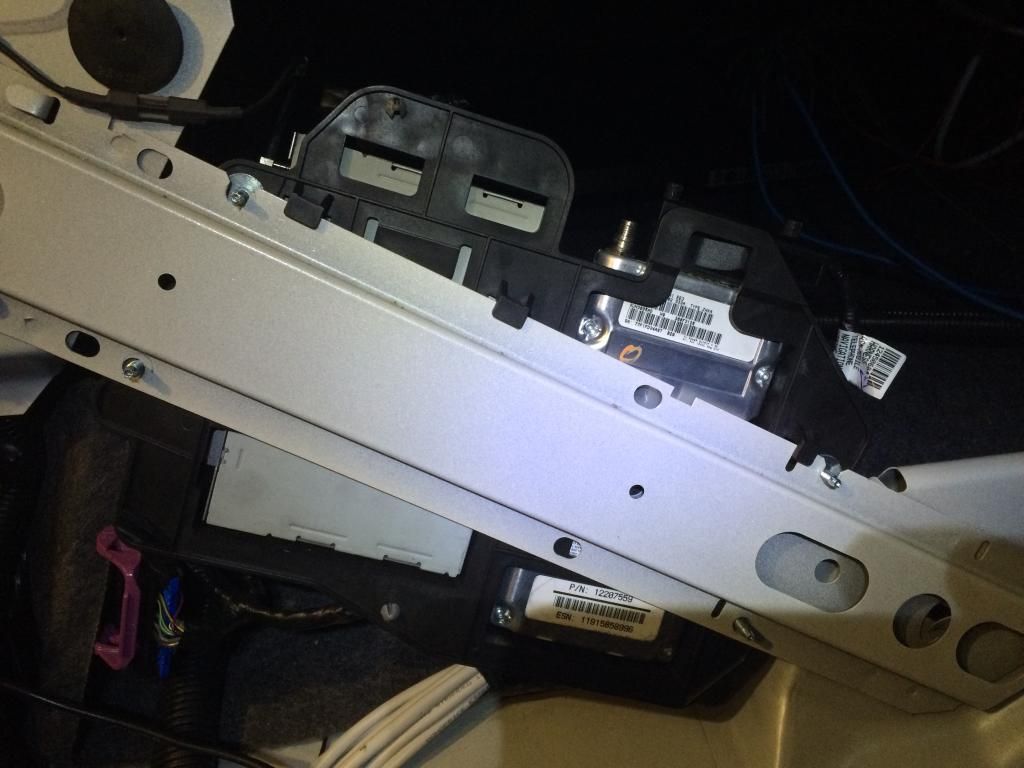 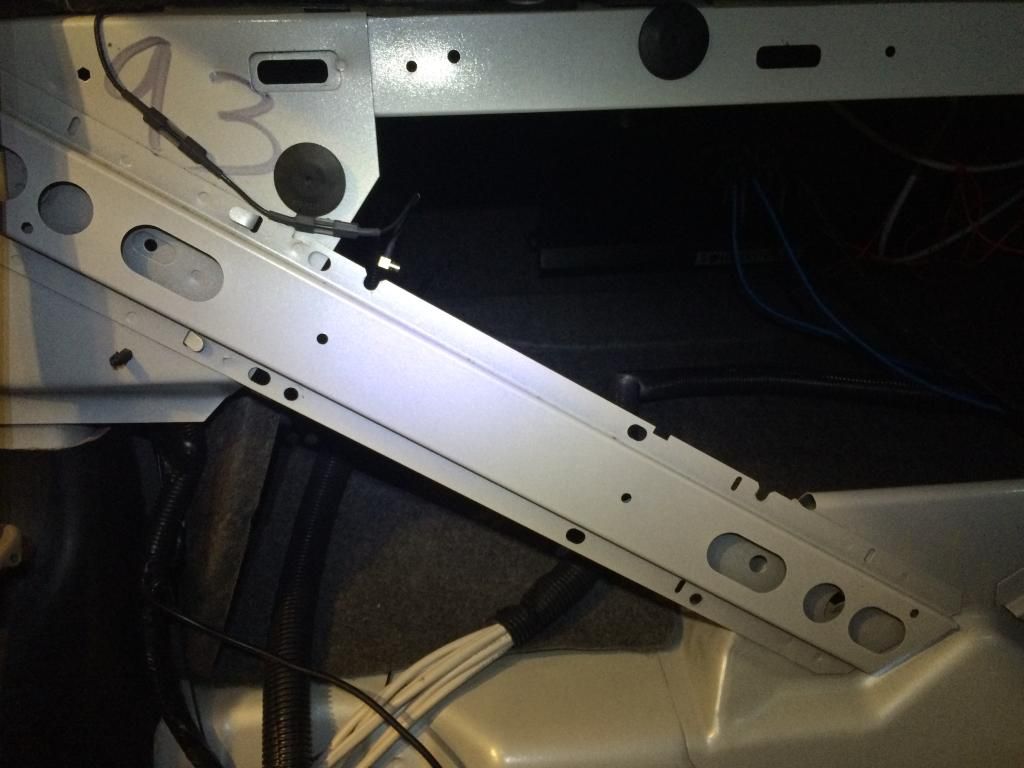 RIM module (top) and BOSE amplifier (bottom)...factory location and removed RIM module (top) and BOSE amplifier (bottom)...factory location and removed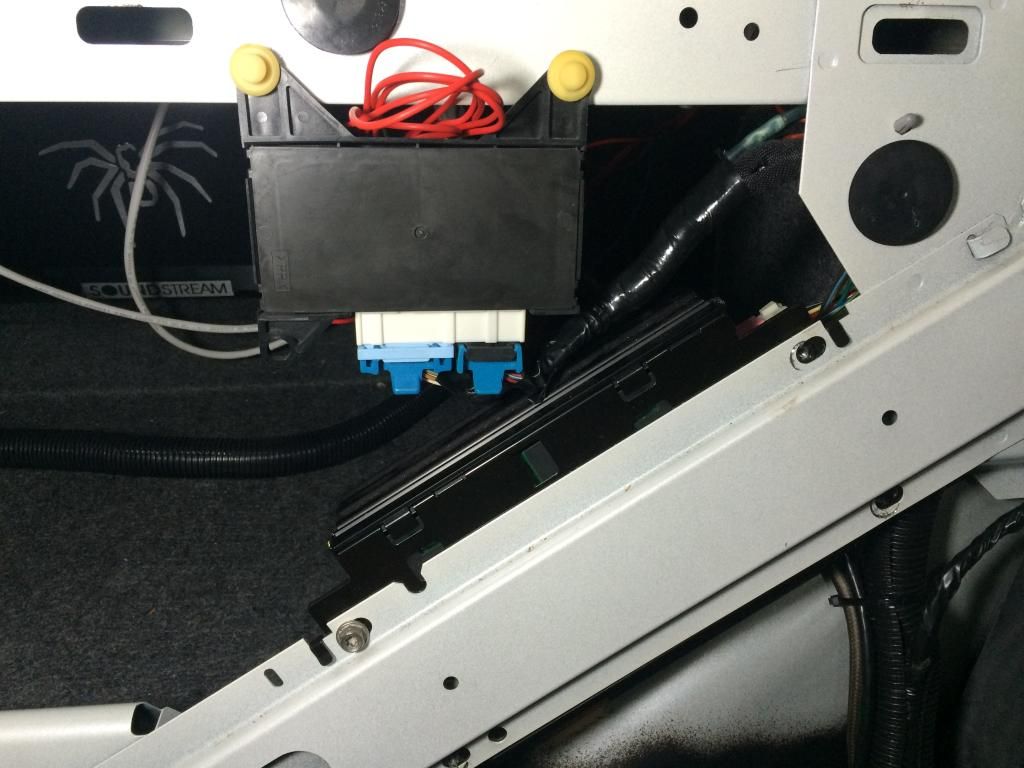 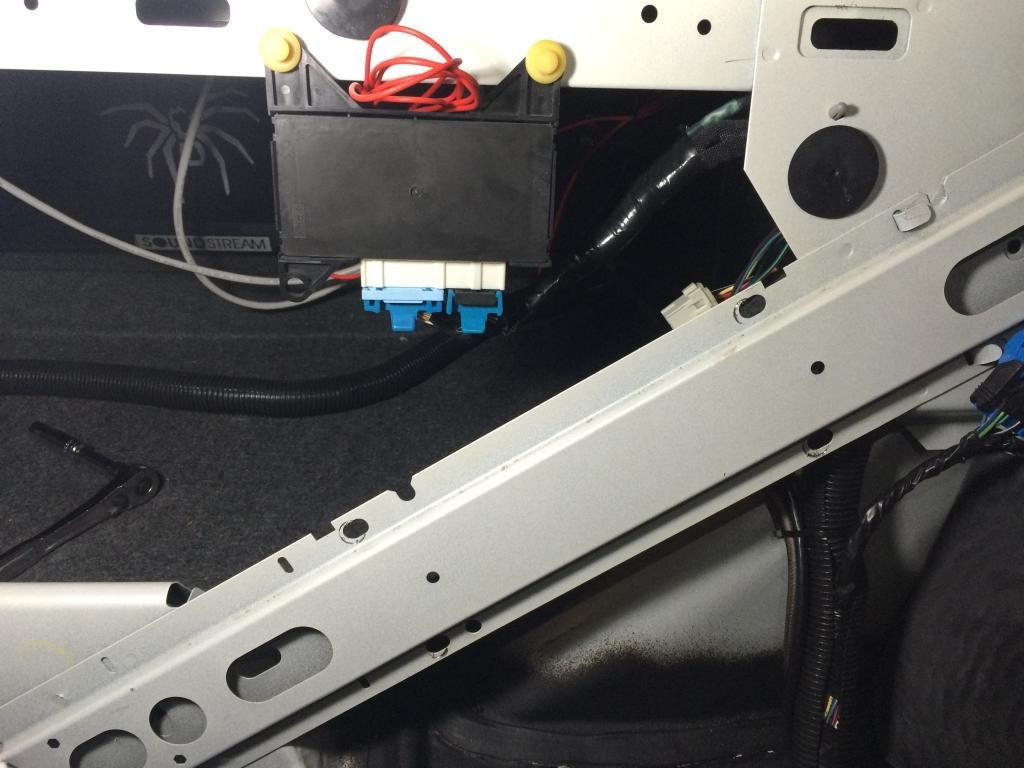 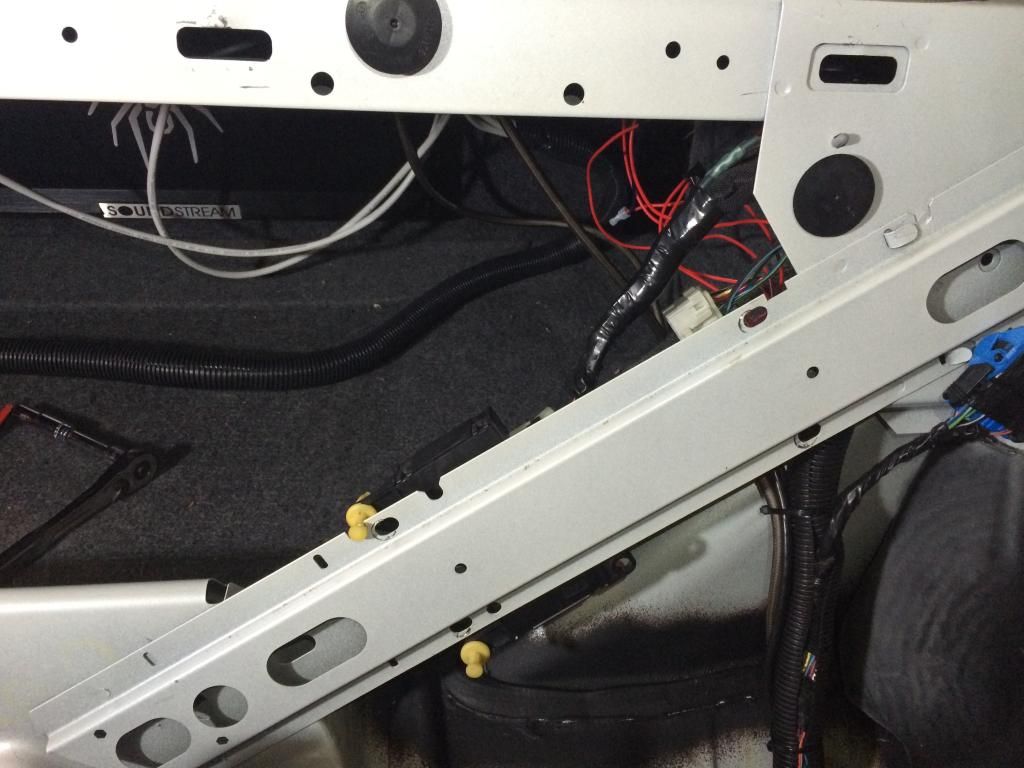 Wires and more wires Wires and more wires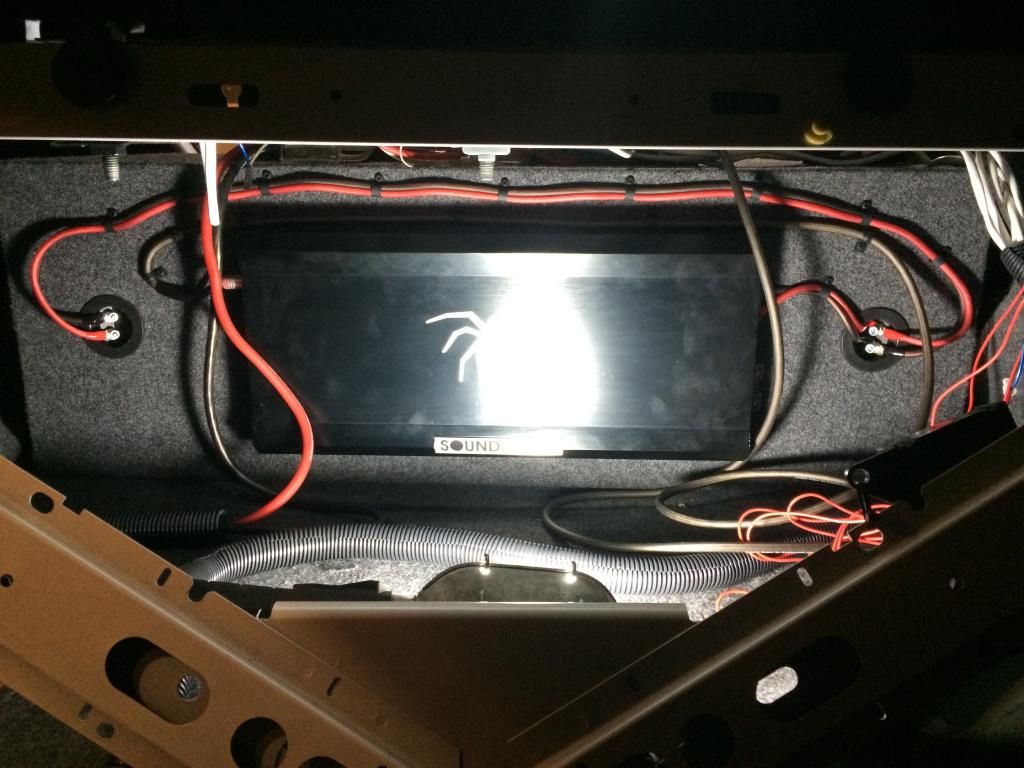 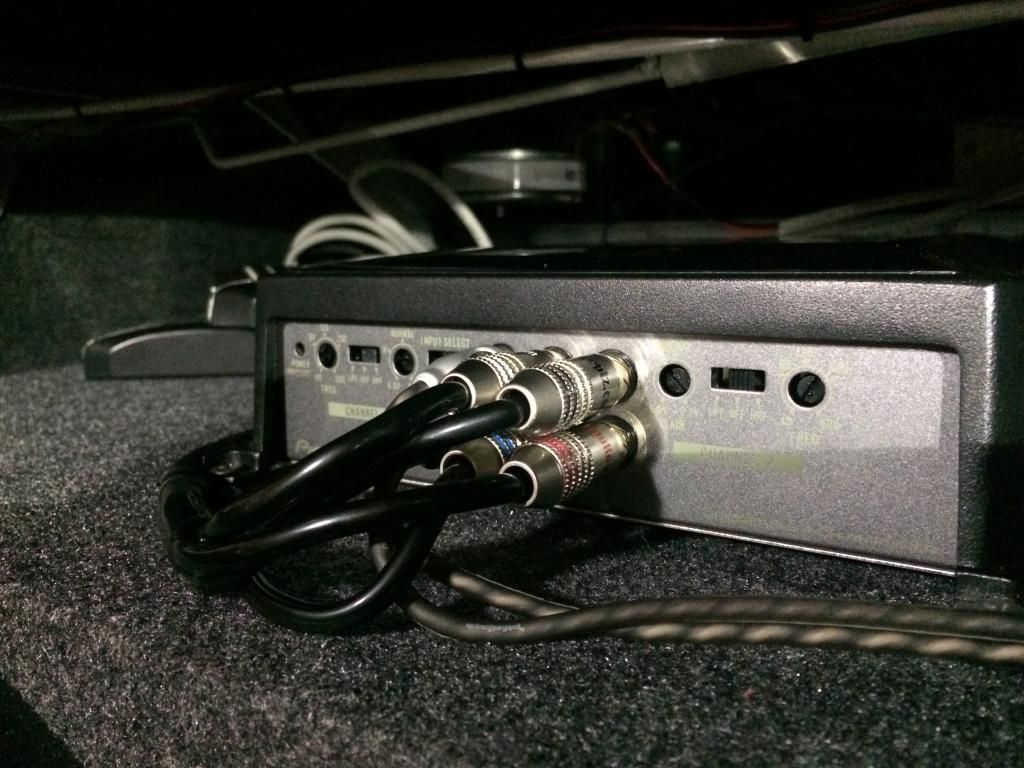 New Duracell 34/78 AGM starting battery and PAC-200 mounted (upper left) New Duracell 34/78 AGM starting battery and PAC-200 mounted (upper left)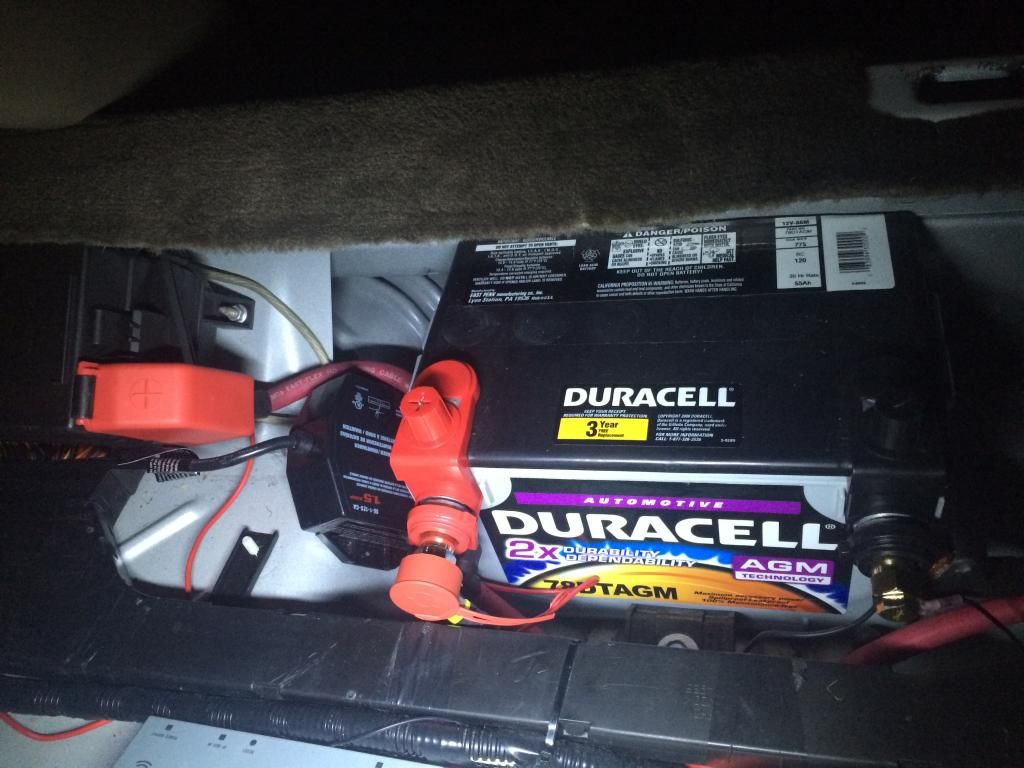 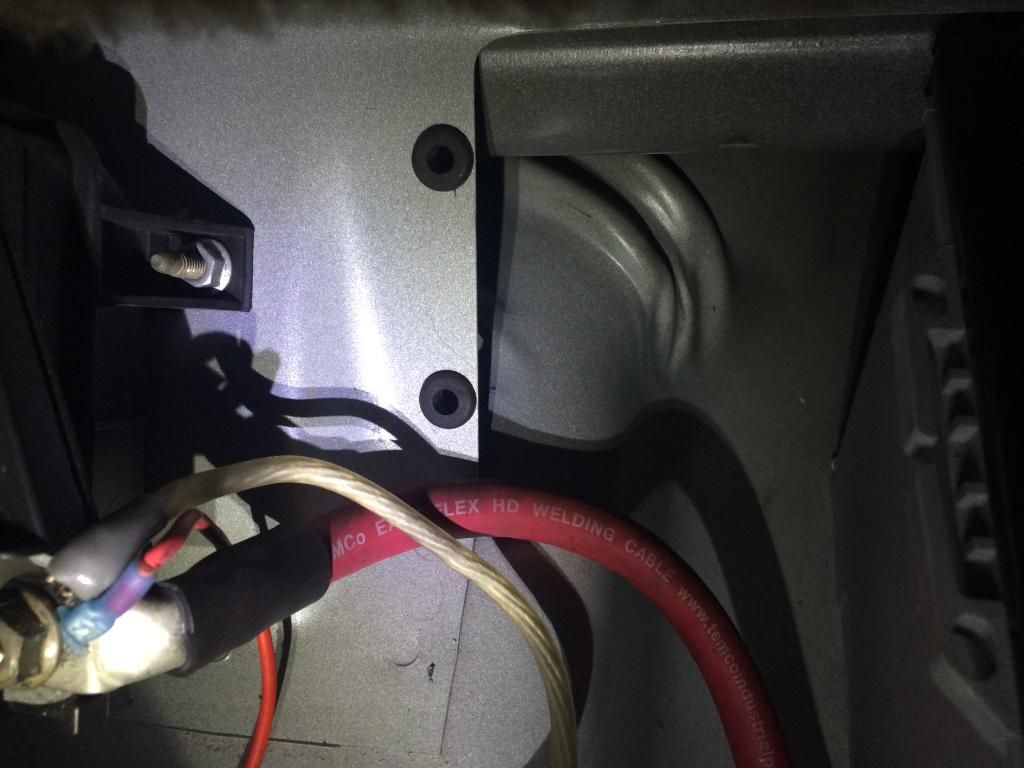
 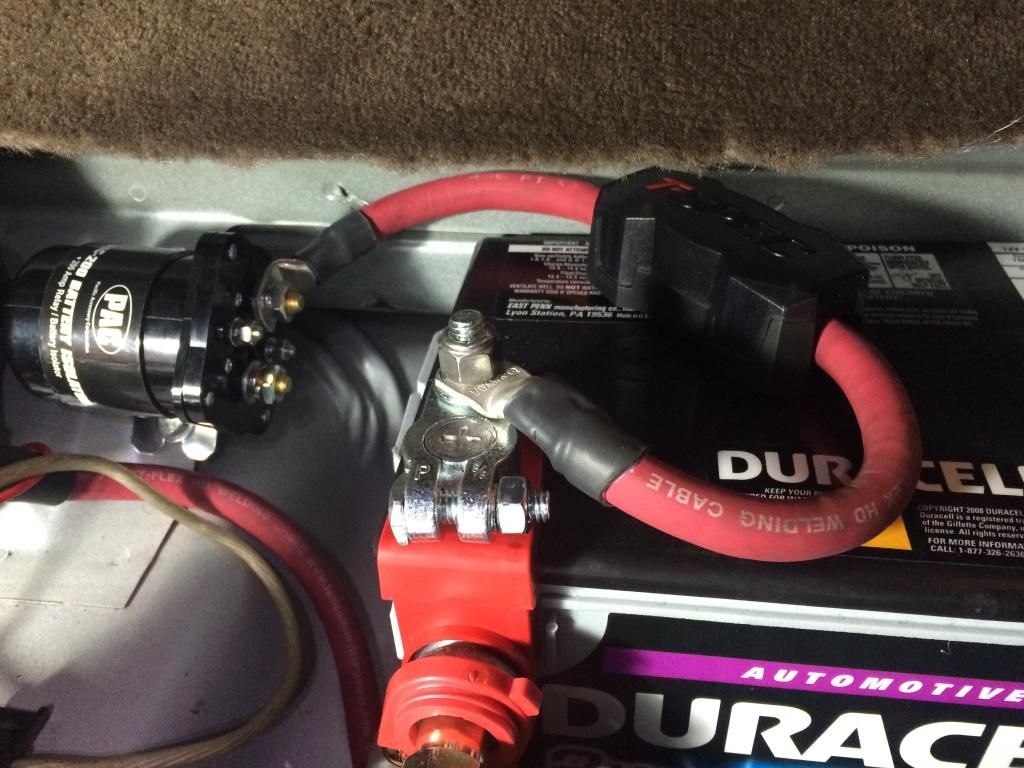 Upated: 2/24/2015 Upated: 2/24/2015I've had the system working for about a couple weeks. I pushed the system the other day but I had the cruise set to 75mph (~2200 RPM) just to make sure it had the full power from 125A alternator. All I can say is that i've felt bass before, but it was bass like i've never felt before. The rumble I received and felt in my chest was awesome. Haha...definetly awesome. Distribution (power and ground) blocks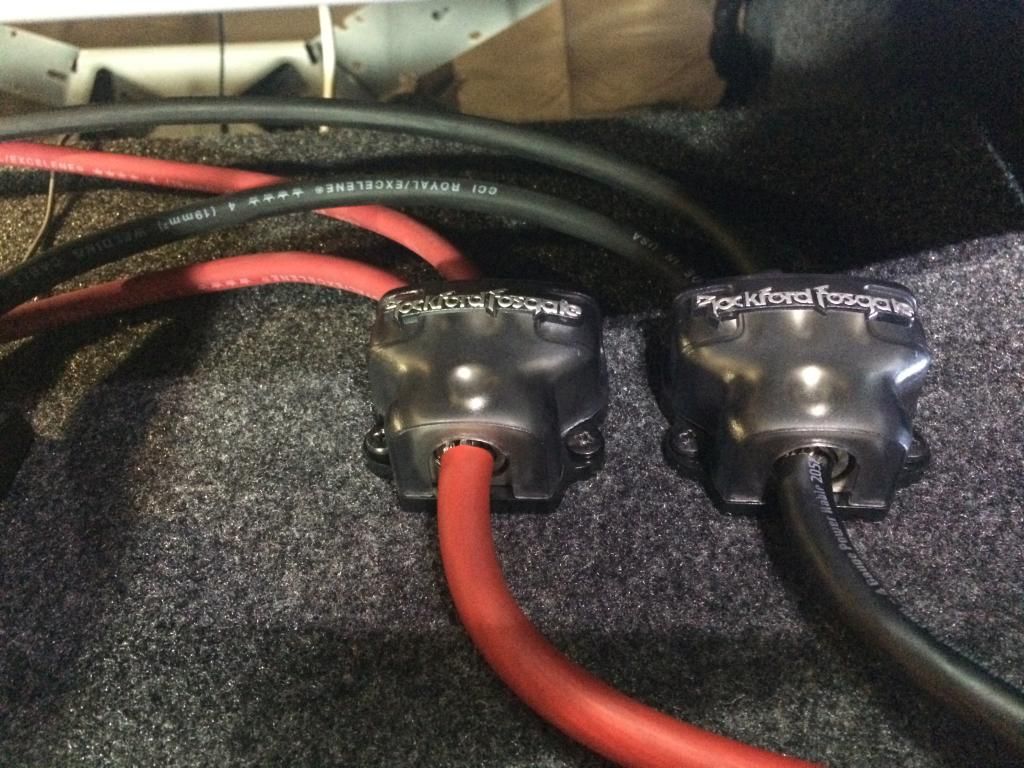 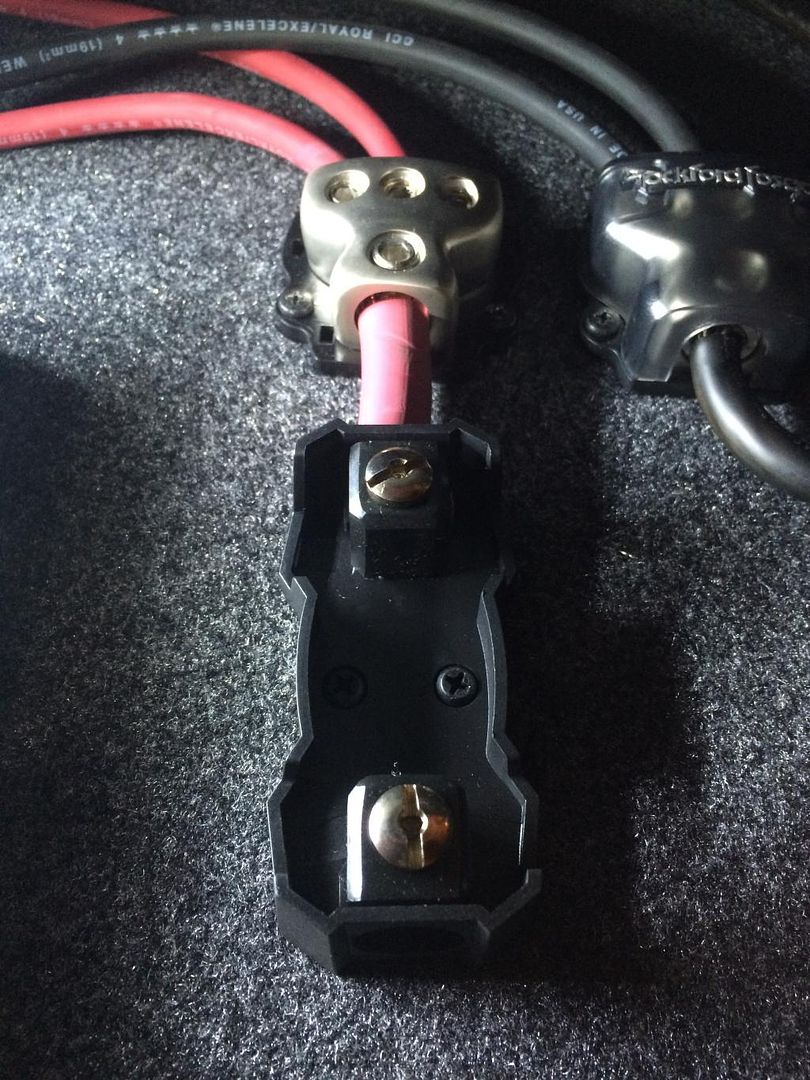 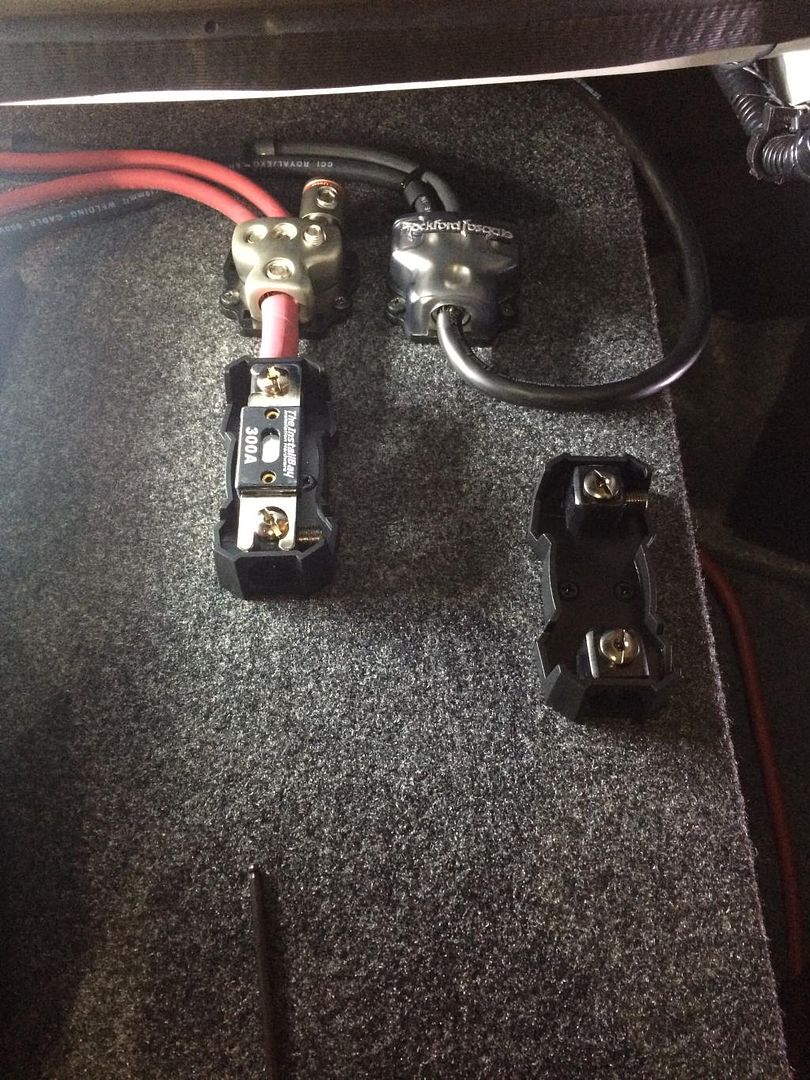 Both Pioneer amps Both Pioneer amps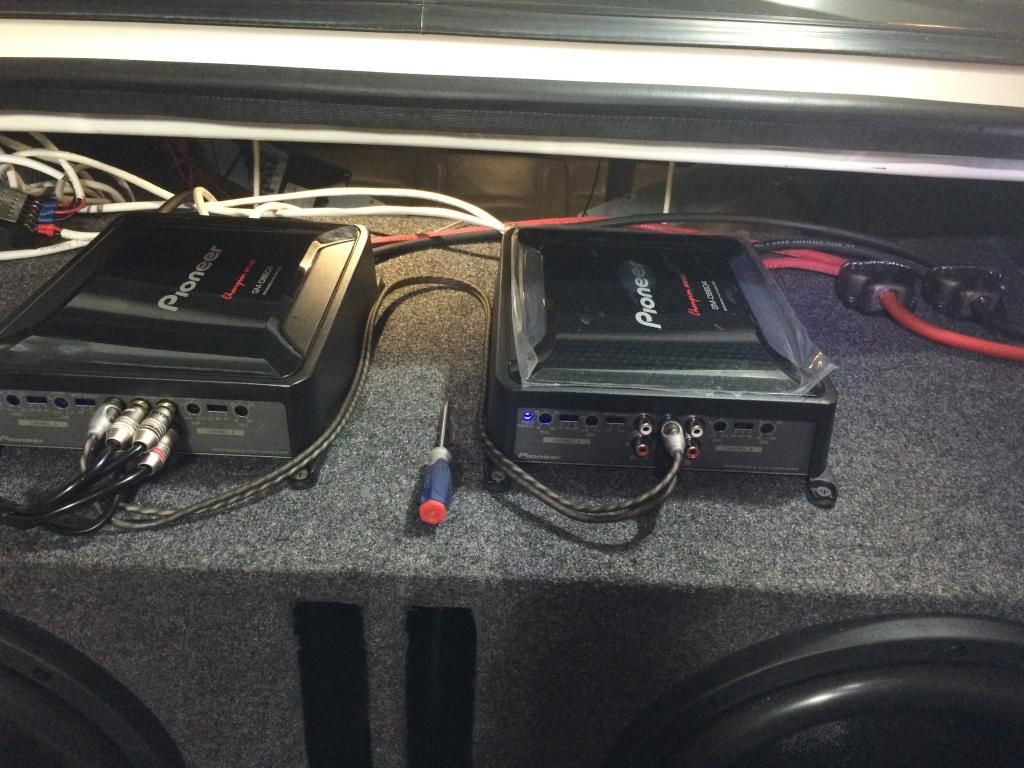 PAC-200 came with a voltage sensing module BG-12. It didn't work as advertised (also confirmed by Sall). So I built my own. PAC-200 came with a voltage sensing module BG-12. It didn't work as advertised (also confirmed by Sall). So I built my own.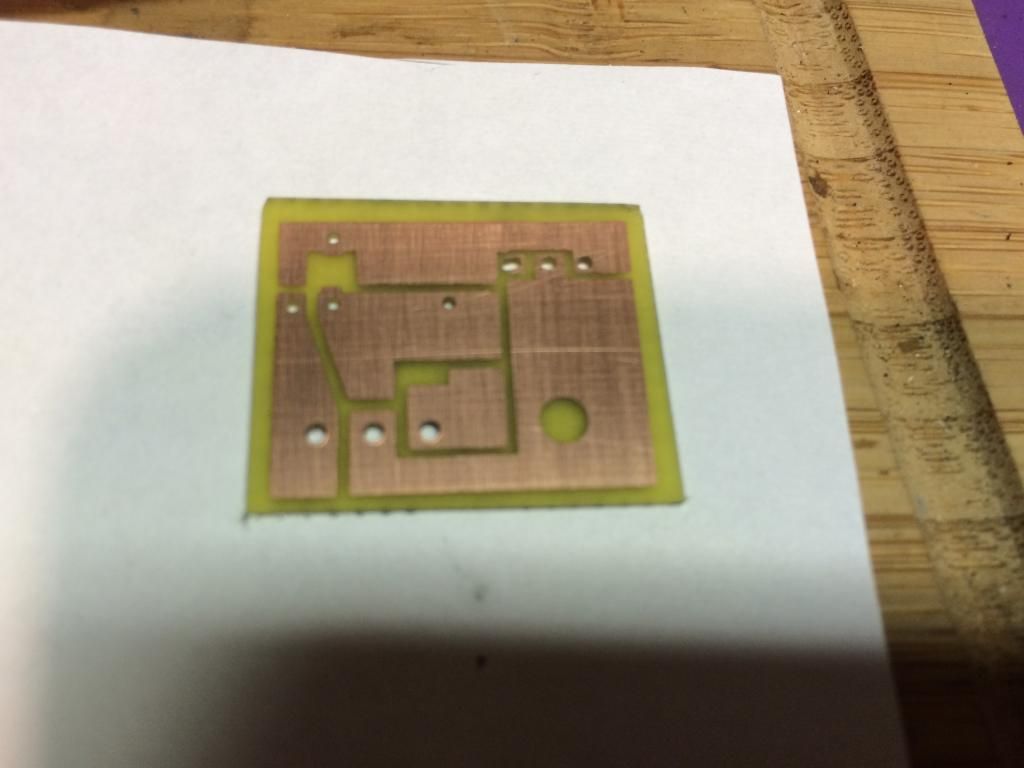 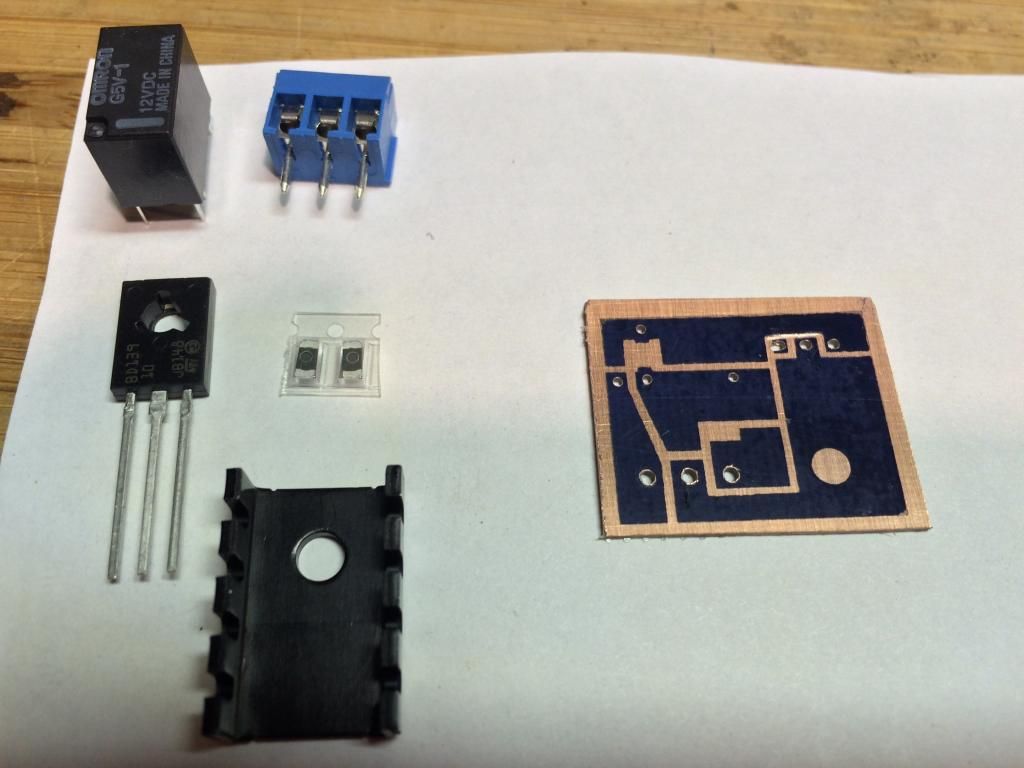 Auxiliary Battery: as she sits now with bungee cords until I can get proper battery tray mounted. Auxiliary Battery: as she sits now with bungee cords until I can get proper battery tray mounted.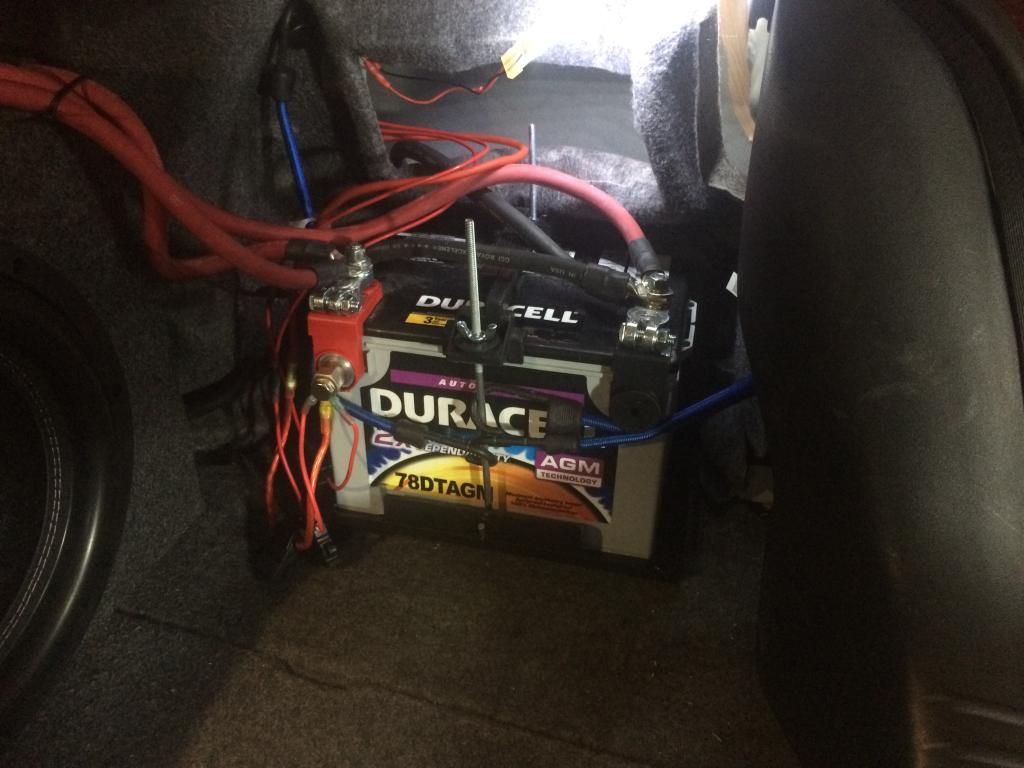 ^I have also ran the amp turn on relay and DPDT valet switch off aux battery (two red fused wires coming off side mount power terminal). This will give me full independent control of audio system no matter if the car is running or off. The third red wire was for the Viper remote start. It didn't like being on the isolated aux battery so I put it back on main battery. |
|
tigger
Administrator 
Posts: 2,844 
Staff Member
|
Post by tigger on Feb 10, 2015 22:02:55 GMT -6
Sweet! Keep 'em coming! Let me know how you like that Tarantula. FWIW, is that the same battery isolator that sall had problems with? And sorry you got a boo-boo. |
|
Paulaurora
Super Moderator 
Posts: 3,828
Staff Member
|
Post by Paulaurora on Feb 10, 2015 22:21:00 GMT -6
Nice!
|
|
|
|
Post by awehlage on Feb 10, 2015 23:18:44 GMT -6
Sweet! Keep 'em coming! Let me know how you like that Tarantula. FWIW, is that the same battery isolator that sall had problems with? And sorry you got a boo-boo. The problem was with the BG-12 module that came with the PAC-200 solenoid. It didn't work how it was supposed to. That's why I made a voltage sensing relay to close and open the solenoid when it sees 13.5V. You could also just purchase an autosensing DRL relay from eBay that does the same thing. That's what Sall installed. I haven't pushed the subs hard yet. Still "breaking" breaking them in. There are definitely better, more efficient amplifiers on the market. I got the Tarantula for $200 "open box". It got good reviews and it suits my needs. I really wanted to get a SQ2200.1 but it wasn't in the budget. |
|
|
|
Post by sall on Feb 11, 2015 7:57:45 GMT -6
FWIW, is that the same battery isolator that sall had problems with? And sorry you got a boo-boo. Yes, it is. We have been flying emails back in fourth on products and such. All I can say is screw PAC audio. They won't get another dime of my money! Anything they can build, we can build BETTER! I just got lazy and took a shortcut lol  |
|
Paulaurora
Super Moderator
Posts: 3,828
Staff Member
|
Post by Paulaurora on Feb 11, 2015 10:01:24 GMT -6
I have good Amp at home if you need one i forgot the name but i let you know tonight.
|
|
tigger
Administrator
Posts: 2,844
Staff Member
|
Post by tigger on Feb 11, 2015 23:57:57 GMT -6
...There are definitely better, more efficient amplifiers on the market. I got the Tarantula for $200 "open box". It got good reviews and it suits my needs. I really wanted to get a SQ2200.1 but it wasn't in the budget. Haha, I hear ya! I was offered the "opportunity" to buy one used (<6months) for 200. I don't really need that kind of power but.... |
|
|
|
Post by awehlage on Feb 12, 2015 14:47:40 GMT -6
Who really needs all that power! I don't plan on going to competitions but I believe it is a nice product and I didn't have to rob my daughters piggy bank to purchase it.
|
|
Paulaurora
Super Moderator
Posts: 3,828
Staff Member
|
Post by Paulaurora on Feb 13, 2015 20:38:20 GMT -6
|
|
|
|
Post by awehlage on Feb 24, 2015 14:31:20 GMT -6
Update: 2/25/2015
More pictures added of install.
Also working on piecing together a high output AD244 alternator. The 2G 4.0L has an AD237 style alternator that is only specific to the 2001-2003 4.0L option, its not even the same alternator that is on the 3.5L!!!!!! Weird. This makes almost any aftermarket high output alternator company not have them available (reliability wise). Sall and I have found out that some companies take the OEM alternator, put an overdrive pulley on and call it a day. They do not upgrade the stator or bridge rectifier.
So....an AD244 (large case) should bolt right up to the factory points (minus the two top bolts; one for ground and one to engine block case). I have been reassured it should not affect functionality. Looks like I can get a 240A high ouput alternator in AD244 case for sub $300. Thats a win for me seeing the only reputable company I talked to wanted ~$500.
|
|
Paulaurora
Super Moderator
Posts: 3,828
Staff Member
|
Post by Paulaurora on Feb 24, 2015 14:40:54 GMT -6
Nice!
|
|
|
|
Post by sall on Feb 24, 2015 19:42:02 GMT -6
Sall and I have found out that some companies take the OEM alternator, put an overdrive pulley on and call it a day. They do not upgrade the stator or bridge rectifier. Yes, they are grimey!!  |
|
|
|
Post by synthesis on Feb 25, 2015 8:54:28 GMT -6
I did the AD244 upgrade on our 2000 Blazer, ended up picking up a factory 160 amp alternator from a 2003 GMC Sierra (I believe) new for 160 from O'Reilly.
It was a substantial upgrade from the CS130D that was in there.
I've been working on an AD swap for the Pontiac Fieros as well, trying to find a good way to build a bracket for it.
If you can get an AD installed, let me know how you do, I have three of them rated between 135 and 180 here at the house and I'm interested in getting the 180 into the 02.
|
|
|
|
Post by sall on Feb 25, 2015 9:01:48 GMT -6
This will be a 240A upgrade. Though only the two main mount points will bolt up to the Aurora, it's all one needs. The AD237 case is very specific to the [4.0L]Aurora and one will pay $400+ for an AD237 unit that will likely overheat due to the small case design.
|
|
|
|
Post by synthesis on Feb 25, 2015 9:21:18 GMT -6
The AD244 only has two mount points. The CS130D that matched the AD244 mount point frame had three. A third one on the back for a support bracket. The AD244 had the thicker body and case so did not need that third point. You do have to be careful to not mix up the DR44G alternator with that AD244, they were electrically different. The DR44G is a computer controlled system that sends a PWM pulse to the ECM to engage the charge circuit. The AD244 on the other hand is electrically identical to the old SI and newer alternators, and a simple adapter plug and some bracketry can convert them to fit nearly anything. |
|
|
|
Post by sall on Feb 25, 2015 9:30:05 GMT -6
Yes, that's what I meant. AD244 will only attach to two of the 2nd Gen[4.0] Auroras alternator mounting points. Never looked at 3.5L. AD244 can indeed use the PCM generator field cycle duty signal circuit(PWM). Though all it technically needs is one resisted ignition signal wire on L terminal of the regulator. CS144 is the same way. The 2G and Classic use PWM to control. Along with the sense pin to control voltage output. Classic uses a thermistor.
|
|
|
|
Post by awehlage on Feb 25, 2015 15:06:12 GMT -6
I will post my BoM list when I have more than a couple minutes on my hands. Minus the different mounting points on the AD244 everything is drop in. The 4-pin voltage regulator on both the AD237 2G 4.0L alternator and AD244 145A alternator are identical. Same pin outs. Plug n play. 2G 4.0L has a voltage regulator with 15.1V set point compared to AD244 with 14.8V set point. Could have saved money buying a 240A upgrade kit but the voltage regulator was specific to AD244 factory compatible vehicles and not the 2G 4.0L. *EDIT* BoM List for upgrading OEM AD244 145A to HO AD244 240A: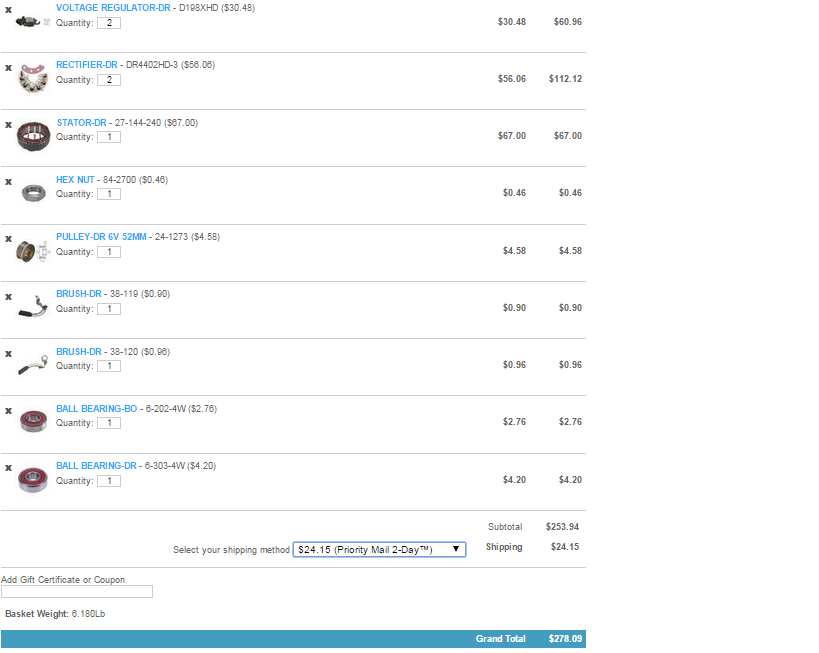 *Note: Bearings, brushes, hex nut, extra rectifier, and extra voltage regulator not necessary to upgrade when purchasing a new AD244 145A alternator. AD244 145A AlternatorGatorback Poly V-Belt 80.5" - factory belt is 81.5" |
|
|
|
Post by awehlage on Feb 28, 2015 10:20:31 GMT -6
A small update. So I realized I will need to make some modifications to the front housing cover of the new AD244. The mounting holes depth on the AD237 are different in how it bolts up to the engine block/AC compressor. AD237 - thin top ear and split ears on the bottom www.rockauto.com/info/177/21790_CMB.jpgAD244 - thick top and bottom ear www.rockauto.com/info/177/21845_CMB.jpgPictures to follow of the main mounting top and bottom ear AD244 modification to fit into the OEM AD237 spot. |
|
|
|
Post by awehlage on Mar 1, 2015 10:18:53 GMT -6
Well another update...and not very good news. I have quickly found out that the AD237 and AD244 housing are not interchangeable. The mounting ear spacing from bolt hole to bolt hole are not the same distance and the mounting ear spacing from the front of the case are not in the same location. This is not going to work. Already sending back the AD244 unit. AD237 units do not have an upgraded stator available...anywhere. Nor are any Delco alternators in different types of casings have compatible upgrade-able stators. AD237 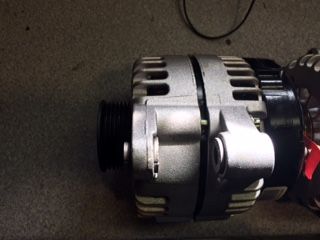 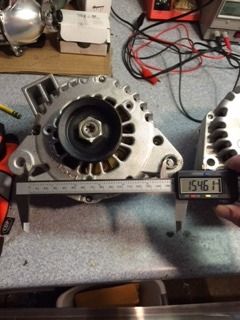 AD244  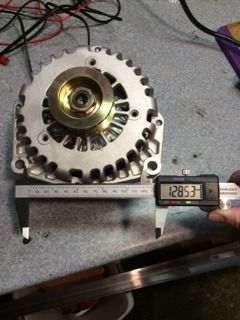 So that leaves me with four options: 1.Leave the OEM alternator rated at 125A and hope the system can handle the upgraded audio system. 2.Purchased an AD237 HO alternator from the only reputable dealer I have talked to. $500 3.Find someone who will rewind the AD237 stator for higher output. 4.Rewind the stator myself for higher output. I'm still on the hunt and will not raise the white flag so soon. |
|
|
|
Post by awehlage on Mar 1, 2015 13:31:07 GMT -6
|
|
tigger
Administrator
Posts: 2,844
Staff Member
|
Post by tigger on Mar 1, 2015 19:12:25 GMT -6
Bummer the 244 won't work. Good luck on the rewind!
|
|
|
|
Post by awehlage on Mar 12, 2015 18:11:53 GMT -6
Update: My Pioneer AVH-P4200DVD HU took a dump last week. The touchscreen become unresponsive and since the unit did not come with a remote control I was stuck. I could have purchased a new screen for ~$120 but I decided to just get a newer model. So I picked up a Pioneer AVH-X5700BHS. Its a nice unit and I decided to stick with Pioneer so I could still use all my peripheral equipment (iPod, rear entertainment tv screens, PAC SWI-PS, etc.). The only thing not compatible was the old XM radio module so I had to get a SiriusXM module instead. Also I started to disassemble my re-manufactured alternator and removed the stator for the rewind. I had to bake the stator and front half of the alternator housing in the oven because they were no separating. So far I have this completed. I hope to double the conductors from 4 wires per phase to 8 wires per phase for lower RPM efficiency and higher amperage output. Pretty sure I can copy how the old stator was wired. Started to separate the phases: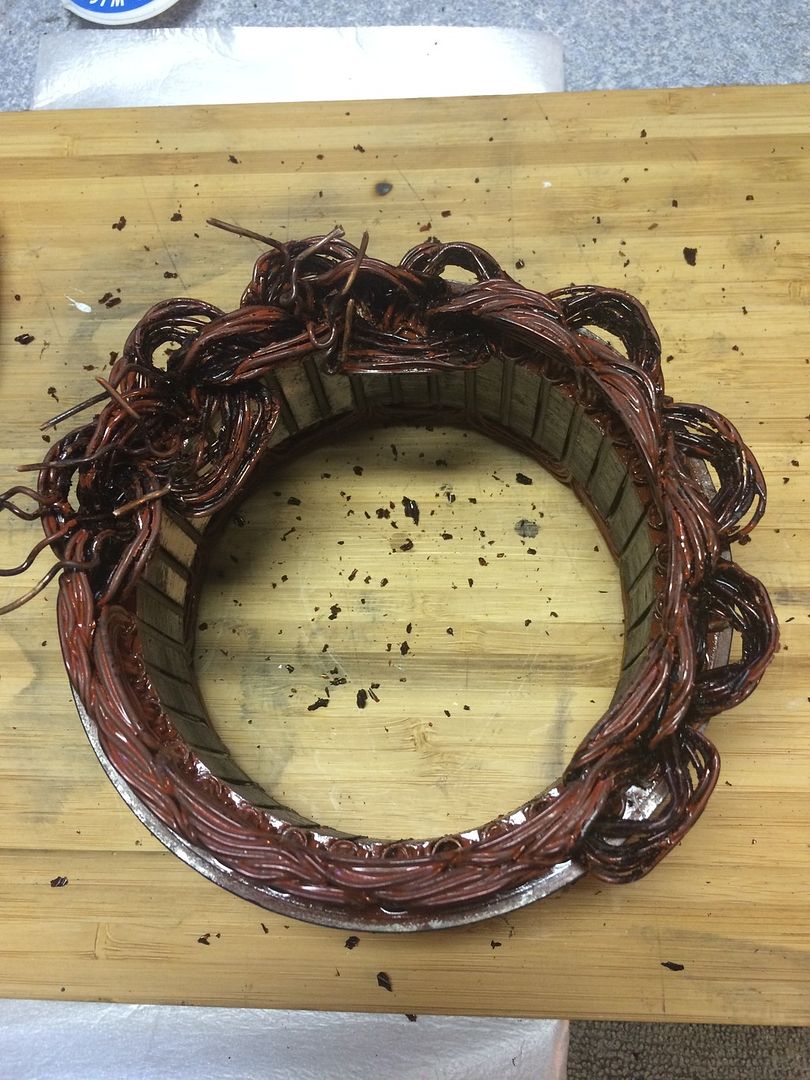 Removed the insulated paper on the inside of the stator for copper winding wire removal: Removed the insulated paper on the inside of the stator for copper winding wire removal: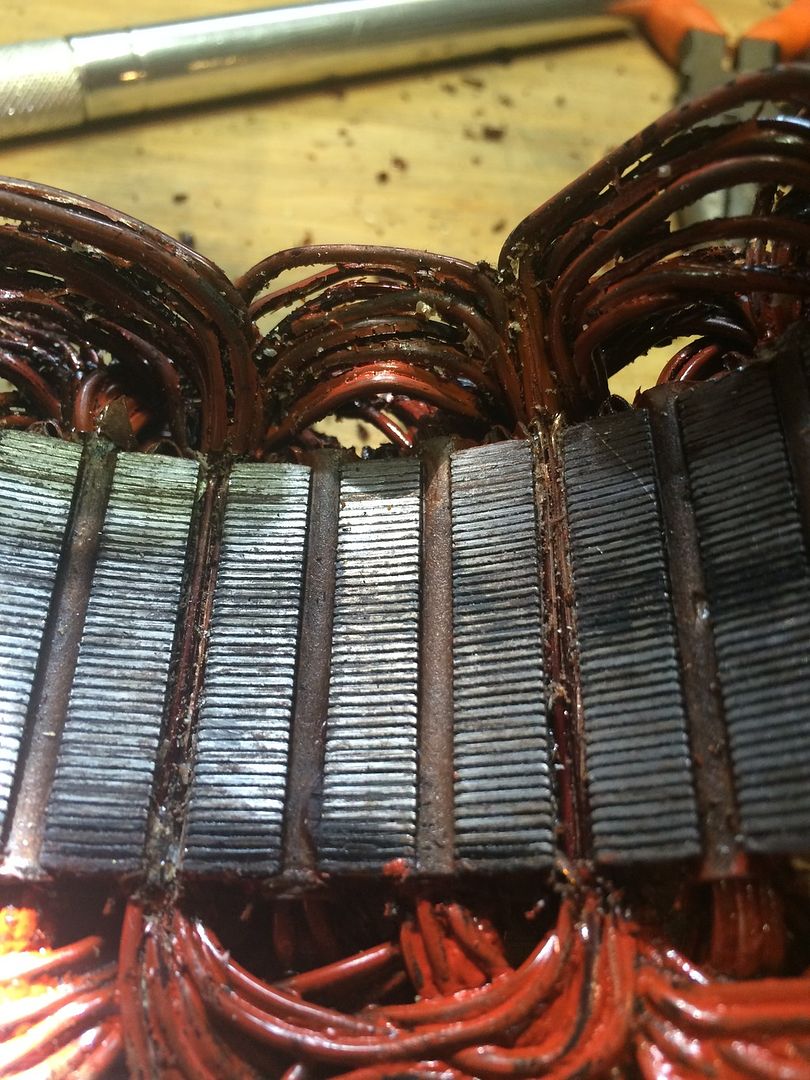 Zip tied the coils to retain shape and rigidity during removal: Zip tied the coils to retain shape and rigidity during removal: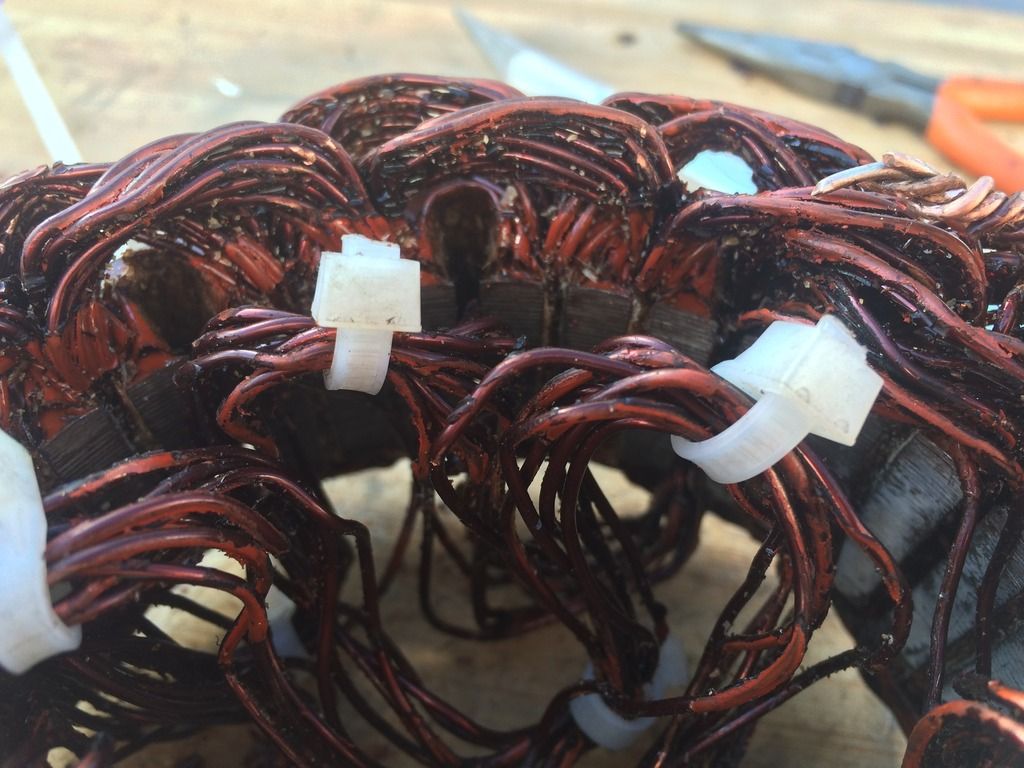 First phase (inner coils) removed: First phase (inner coils) removed: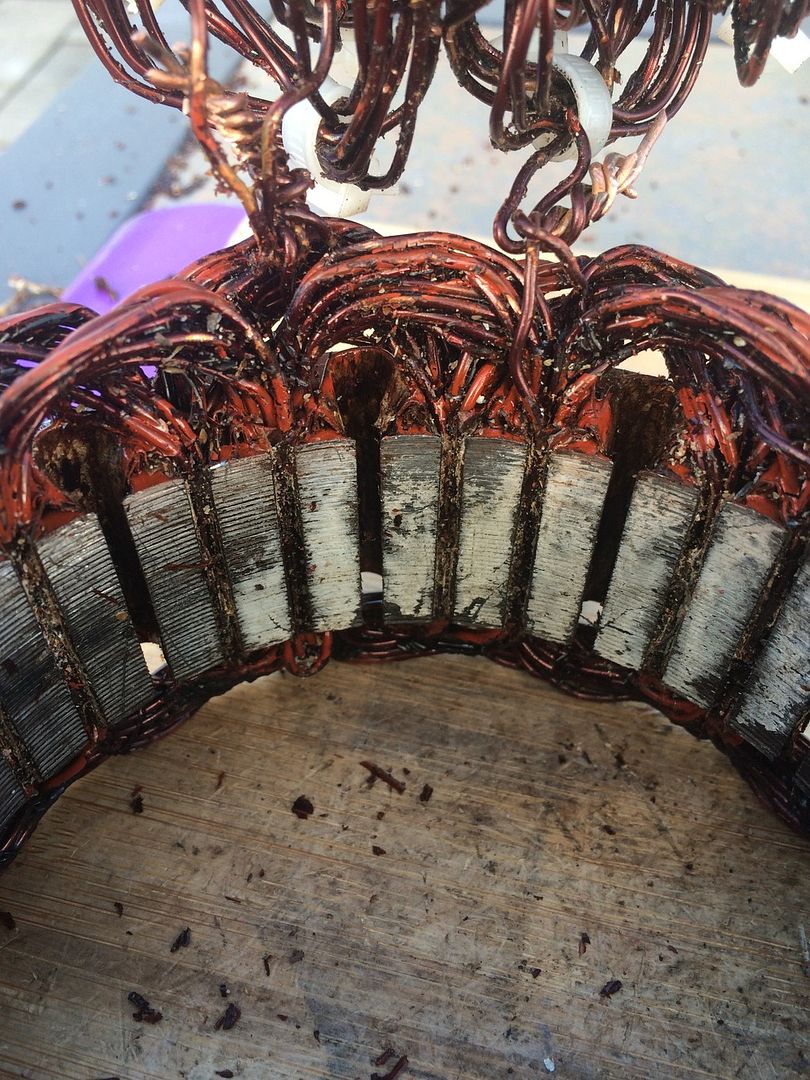 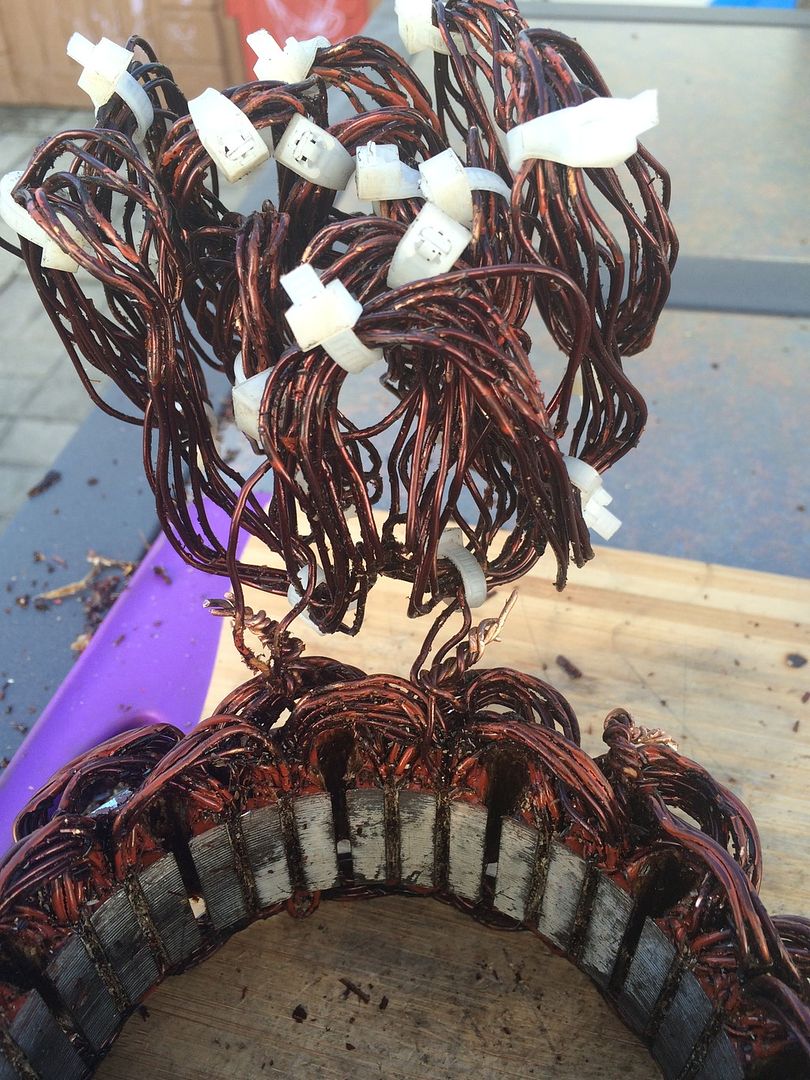 Must have patience and time for this...I have spent about 2 hours on the stator rewind process so far. |
|
|
|
Post by awehlage on Mar 14, 2015 16:53:14 GMT -6
|
|
|
|
Post by awehlage on Apr 14, 2015 8:02:44 GMT -6
|
|
|
|
Post by awehlage on Apr 19, 2015 18:38:09 GMT -6
Installed a trunk liner on passenger side from a 3.5L that did not have cd changer. Looks much cleaner! 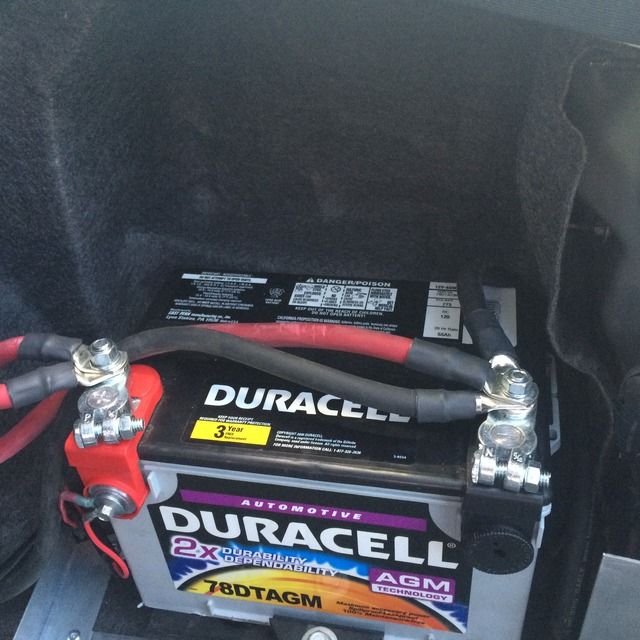 |
|
|
|
Post by sall on Apr 20, 2015 13:40:58 GMT -6
Different generation twins! Looks good per usual! Drive down and cut me some finish panels? Maybe finish my headlamp retro? haha |
|
tim1993
Aurora Driver
 99 Oldsmobile Aurora 4.0L V8
|
Post by tim1993 on May 17, 2015 21:56:08 GMT -6
Your gonna need a custom box for those subs if you really wanna rattle the windows on houses down the block cause that prefab box sure aint gonna do it and a custom box could get you louder and cleaner sound quality as well
|
|
|
|
Post by awehlage on May 18, 2015 20:30:30 GMT -6
I don't want to rattle windows of houses blocks away! I don't wanna be that guy (I mean teenager). Of course a custom box would be more beneficial but the box I have meets the specs of the subwoofers and I think it sounds damn good.
Just gotta do your research and ask a lot of questions before pulling the trigger. I am completely satisfied with my choices and I can honestly say if I turn up the volume to a certain point it gets uncomfortable to listen to.
|
|
|
|
Post by sall on May 19, 2015 6:57:37 GMT -6
Your gonna need a custom box for those subs if you really wanna rattle the windows on houses down the block cause that prefab box sure aint gonna do it and a custom box could get you louder and cleaner sound quality as well Actually the enclosure is the perfect volume for each of those subwoofers in a vented enclosure and is also tuned very well frequency wise. The only thing it is missing is a double walled front and it's really not necessary for this application. I am all about building and customizing stuff but some time it just is not necessary when you can get the same product off the shelf. Keep in mind some of us have children and having some trunk is space is very necessary. |
|
tim1993
Aurora Driver
99 Oldsmobile Aurora 4.0L V8
|
Post by tim1993 on May 20, 2015 10:37:02 GMT -6
true but what I mean by custom box for some people those prefab boxes will collapse or bust because of the pressure all a custom box is basically upgrading the wood and giving the sub the recommended tuned frequency but like you said you may not have the space that is need so as long as you are satisfied thats all that matters and hey good work you do man i be keeping up with your progress and I must say you are very good.
|
|
 Forum")


