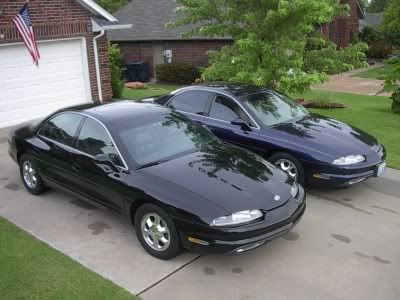
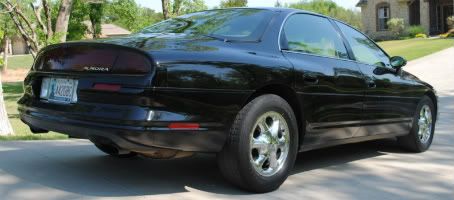
Post by stelte on Mar 30, 2006 12:54:02 GMT -6
Procedures for changing strut and control arm components on 95 Olds Aurora
I just finished changing the front end suspension components (struts, ball joints, and bushings) on my 95 Aurora. These notes documents some of the likely problems you will encounter that should help you if you undertake this yourself.
First of all, my 95 Aurora had 155,000 miles and none of the suspension components had ever been replaced. The handling was a little mushy, and it wouldn’t hold an alignment. The comments contained in this procedure regarding the shape that various parts were in is strictly about my car, but if yours has about the same number of miles, chances are that they may apply to your car as well.
I purchased the parts at the local Murray’s auto parts store. Cost: Monroe Struts (Monroe p/n 801822 - $50 each, TRW Ball Joints - $38 each, TRW Front Control Arm Bushing (TRW p/n 12665) - $11 each, TRW Rear Control Arm Bushing (TRW p/n 12666) - $11 each, TRW Sway Bar Link Kit (heavy duty) (TRW p/n 18204HD)- $8 each. Total Cost for both sides: $240.
Removal and installation of Struts
Removal and installation of the struts is really quite straight forward. The main problem that you will have in removing the struts is getting the two bolts off the strut collar. Mine were pretty rusted in. You shouldn’t have a big problem getting the nuts off, but the big problem will be getting the bolt out. I ended up heating the head of the bolt with a propane torch for about 5 minutes, beating on the end with a 5lb hand sledge (put the nut on first so you don’t wreck the threads), and eventually breaking it loose by twisting it out with a breaker with a two foot pipe extension.
Next, take out the three nuts on top and remove the strut. Now, you will need a couple of spring compressors to release the spring tension before you take off the center nut. My strut mounts were in pretty good shape, so I didn’t replace them. Also, the strut bearing seemed pretty foolproof, so unless they are cracked, there isn’t much that can go wrong with them. I just popped them apart, cleaned them up and re-greased them. If you do that, make sure you don’t loose any of the ball bearings.
Now, put the spring in the new strut and reassemble. Make sure you get the center nut tightened all the way down. Put the strut back on the car. You will definitely need a wheel alignment, so don’t plan on driving too far before you do that.
Removal of Control Arm
In order to remove the control arm, you will have to remove the bolt on the front control arm bushing. This fastner requires a #57 Star socket and a 13/16” socket for the nut on top. Mine was not rusted and came out pretty easily. Next remove the bolt on the rear bushing. The bolt head is 18m and the nut is 22 mm. Once again, mine came out pretty easily.
The next thing to take off is the sway bar link bushing. Mine was so rusted that it broke when I tried to torque the nut off. I had to saw them off with a hacksaw, but if you have a cutting torch, that’s probably an easier way to get them off. If yours are in the same shape as mine, there is no way that they could be re-used, so I would plan on replacing them.
The last trick is to get the ball joint out of the knuckle. First, pull the cotter pin out of the castled nut. Then take the nut off with an 18mm wrench. I used a 15/16” fork tool that I bought at Murray’s for about $6 and drove it between the joint and the knuckle. It takes some pretty good wacks with a hand sledge to separate the joint, but I didn’t have any trouble getting them free. Be careful that your fork doesn’t hit one of the rivets on the ball joint, otherwise you won’t be able to drive it in. At this point, the control arm should be free.
Changing the front control arm bushing
I used a ball joint press to do this. My local Murray’s auto parts store has a tool loaner program, so I checked one out. The press worked pretty well, and the old bushing came out without incident. By the way, this bushing was in bad shape and really needed replacement. I used the tool to press the new bushing back in. Make sure that you put the new bushing in the same way the old one came out. It does matter – if you look at the bushing, the center part has a tilt to it. The bushing has a flat side on it. Before you press in the new bushing, make sure that the flat side is oriented the same way as it was before you took the old one out.
Changing the rear control arm bushing
My rear control arm bushings looked to be in pretty good shape, so I didn’t change them. I took the parts I bought back for a refund.
Changing the Ball joints
This is where the fun really starts. The ball joints are held to the control arm with three rivets. The first ball joint that I changed took me forever to figure out how to get the rivets out. After I figured out the process, the second one only took about a half hour.
Here’s the process. You’ll need a drill press. I suppose that you could try to do this with a hand drill, but you’re on your own if you try, but I wouldn’t recommend it. First, center punch the rivets on both sides. Do this well and accurately or you will be sorry later. Drill half way through the rivet with a 3/16” drill, then turn the control arm over and drill the rivet from the other side until the holes meet up. It’s very important to keep the drill centered on the rivet as best you can. That’s why you should drill it from both sides.
Next repeat the process with a 5/16” drill, and finally with a 7/16” bit. Now, take a cold chisel and a hand sledge, and with the control arm clamped in a vise, pound the rivet heads off. What’s left of the rivets should now come out pretty easily. Once the rivets are out, you can pound the ball joint out.
The secret, once again, is being accurate in drilling the pilot holes in the center of the rivet. If you get off center, you will have problems, and will also end up drilling into the control arm.
Reassembling the Control Arm:
Put the control arm back on the car just like you took it off. Enjoy the original handling.


